 SOYUZ
MSSOYUZ
MS
SOYUZ
MSSOYUZ
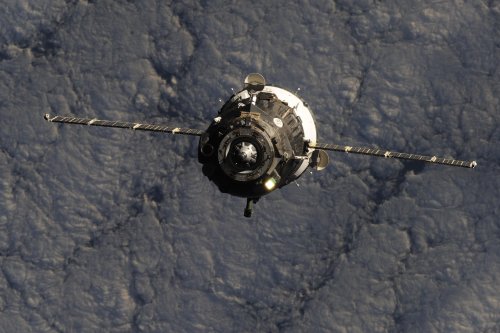
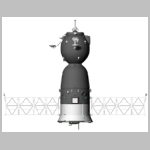
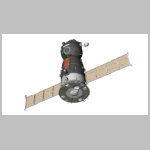
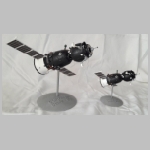
MSIn 2017 the Soyuz spacecraft has been in operation for 50 years. The model I made of Soyuz 4 & 5 from NewWare was the first version called Soyuz 7K-OK. Along its long history many modifications were made which led to different generations of spacecraft and different code names (see Soyuz Spacecraft). In 2017 the Soyuz MS is the final upgrade of the Soyuz spacecraft.
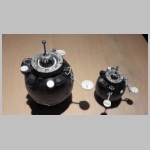
For the 30th Astronaut Congress that was held in Toulouse in October 2017, a friend of mine asked me to make a 1/50 model of the Soyuz Spacecraft to go along a 1/50 model of the Soyuz rocket. I decided to create the model in 3D as a kit so every space modeler would be able to build his own Soyuz MS. The model was originally designed in 1/50 and 1/32 scales, the 1/32 model being obviously more detailled although the 1/50 has exactly the same number of parts, it is only some parts that are thicker and thus less detailled so they can be printed. The 1/48 model is just an upscale of the 1/50 model.
The model is sold on my Shapeways shop under three shop
sections corresponding to the three scales 1/50, 1/48 and
1/32. I managed to group the various parts together by material :
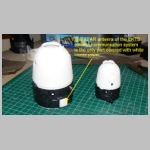
Frosted Ultra Detail for the detailled parts such as the antennas or
the docking probe, Strong & Flexible Plastic for the parts
covered with thermal blankets as well as the solar panels and finally
Metallic Plastic, Strong & Flexible Plastic or Acrylic for the
stand. Herebelow are the various sets sold on my Shapeways shop.
You can also buy and download the STL files on Cult3D.
Considering the complexity of the model large parts that will be
covered can be printed with a filament printer (file name preceded with
PLA) while more precise parts will need a resin printer (file name
preceded by R)
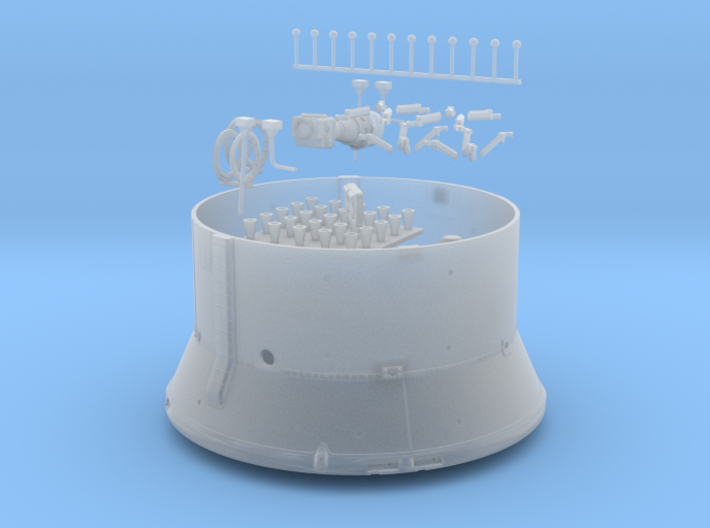
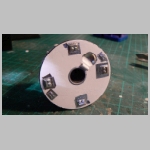
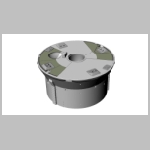
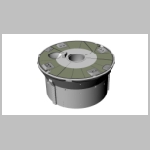
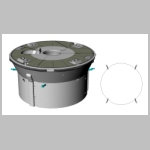
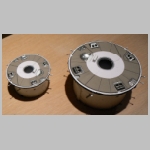
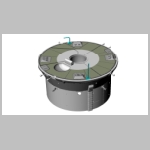
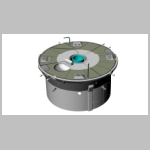
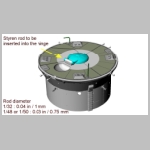
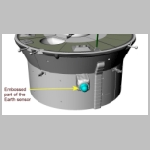
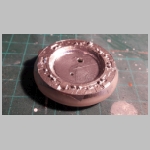
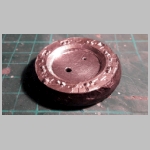
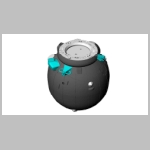
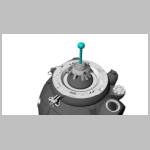
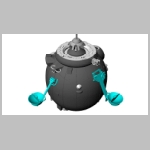
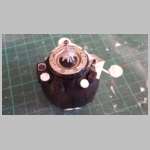
It is very important prior to assemble your model to prepare the various parts and in particular to check if everything fits together. This is particularly true when small holes are intented to receive another part. It may be necessary sometimes to increase the diameter of these holes. A video explain this process.
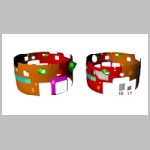
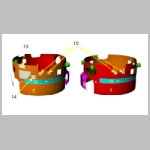
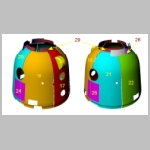
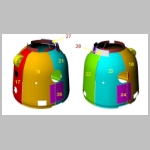
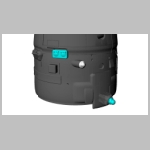
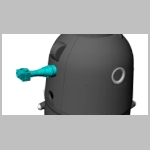
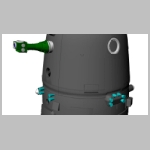
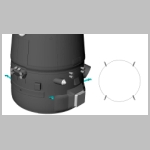
By clicking on the images below you will get a step to step approach of how to build and assemble your model. The panels around the Soyuz main engine are made out of paper and can be printed after downloading this pdf file.
|
 |
 |
 |
 |
 |
 |
 |
 |
 |
 |
 |
 |
 |
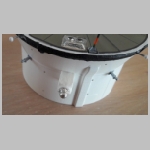 |
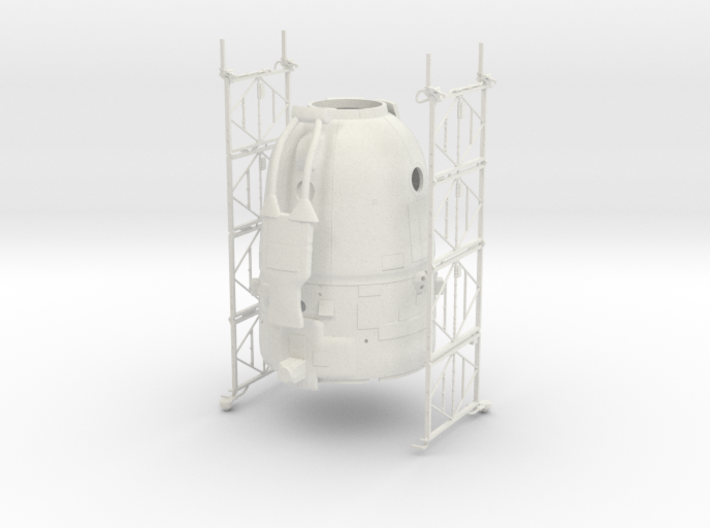
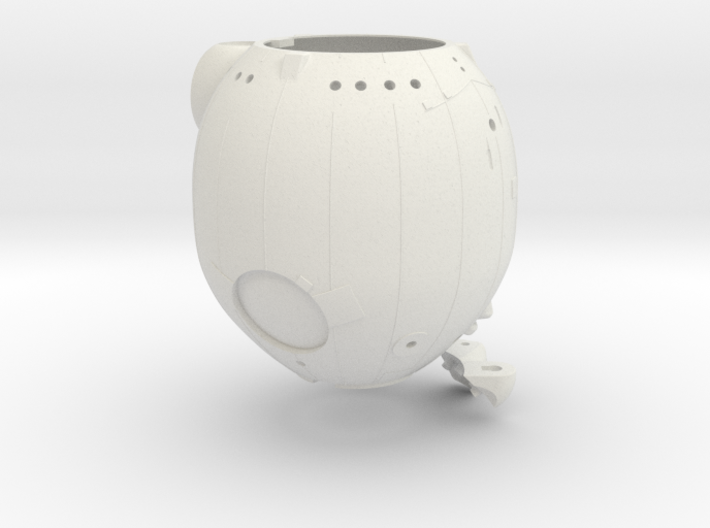
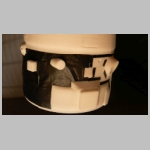
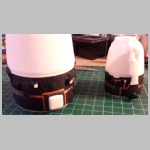
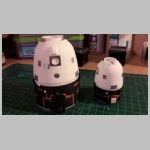
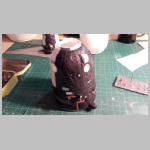
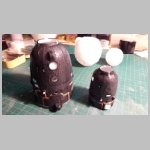
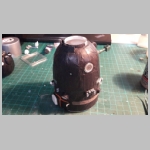
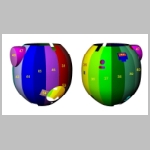
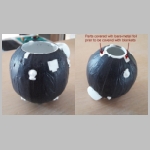
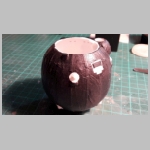
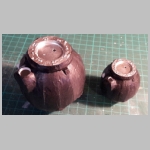
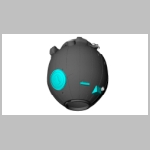
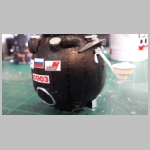
The upper part of the Instrument Module and the Descent Module are covered with black thermal blankets. For the model I used black tissue paper. Most of the blankets were cut using a pattern that can be found here. By clicking on the images below you will get a step to step approach of how to cover your model.
|
 |
 |
 |
 |
 |
 |
|
|
 |
 |
 |
 |
|
 |
 |
 |
 |
 |
 |
|

|
|
|
|
|
|

|
|
|
|
|
|
|
|

|
|
|
|
|
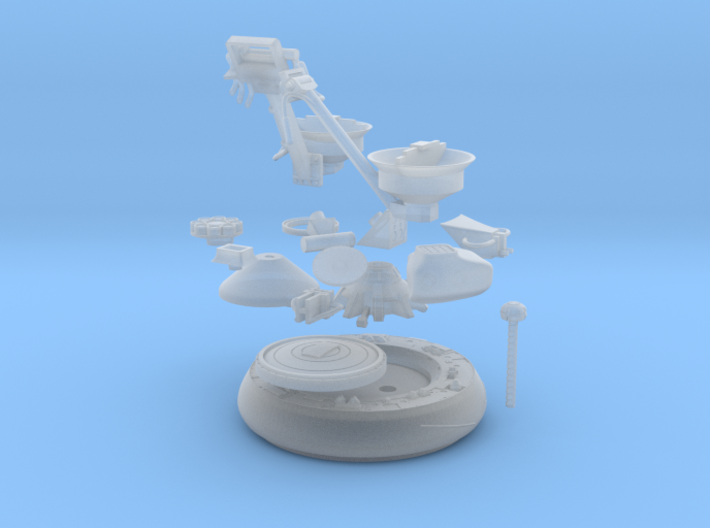
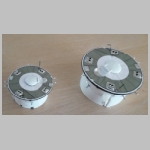
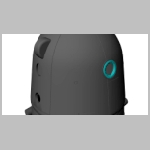
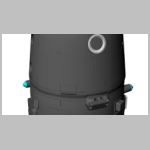
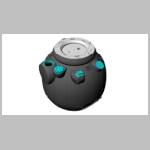
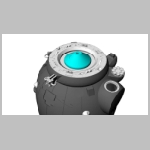
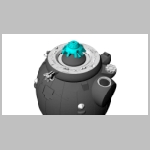
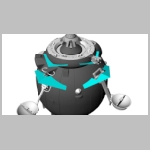
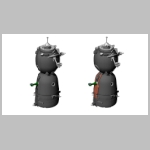
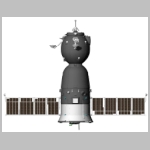
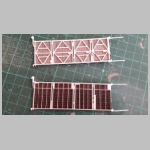
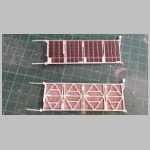
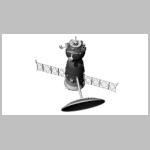
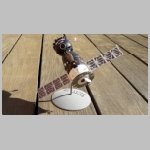
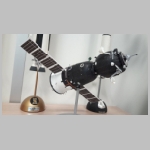
The final work on this model will be to assemble the various elements, work on the solar panels and assemble them onto the spacecraft. By clicking on the images below you will get a step to step approach of the built.
|
|
|
|
|
|
|
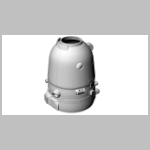
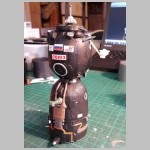
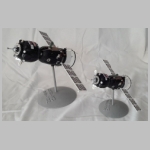
After fixing the model on the stand, the model is now complete
|

|
|
|

|
|
|