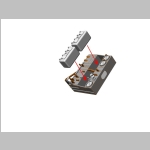
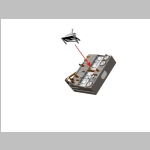
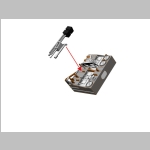
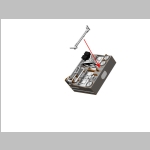
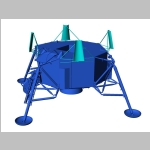
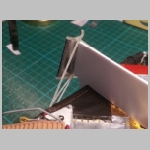
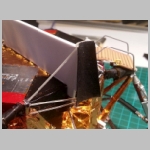
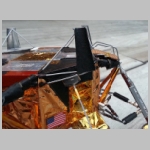
THE DESCENT STAGE, B, D, F, G AND H SERIES
The
early lunar modules were categorized in different classes depending on
the kind of mission, the B class was for the unmanned test of the LM,
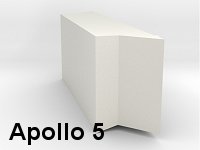
this happened during the Apollo 5 mission around the Earth. Manned
flight tests around the Earth (Class D) and around the Moon (Class F)
were carried out during the Apollo 9 and 10 missions. The Class G
LM (Apoll 11) performed the first lunar landing, it did have a limited
amount of scientific equipments and the crew performed only one EVA.
The Class H lunar modules carried the ALSEP (Apollo Lunar Experiment
Package) and stayed two days on the Moon, the astronauts performing 2
EVAs. The Class H LM of Apollo 12 and 14 were successful while the
Apollo 13 LM didn't land on the Moon and was used as a life boat
following an explosion in the service module of the Apollo spacecraft.
More
or less the Apollo 12 to 14 LMs were very similar but all other LM
offered differences depending on the mission. This section will allow
you to built any LM you want between Apollo 5 and Apollo 14. If you
follow the various steps you will be able to order all individual parts
as requested by the LM you choose. However in order to make things
easier and also cheaper I combined many parts into one product which
will allow you to save money mainly on handling fees. The combined
parts are offered in Strong White and Flexible (in this case ordering
the combined product or each part individualy is about the same in
terms of price) and in Frosted Ultra Detail plastic (combining the
parts for FUD makes a great difference since the handling fees is $5
per product, so basiccaly if you combine 9 different products into one
you save $40).
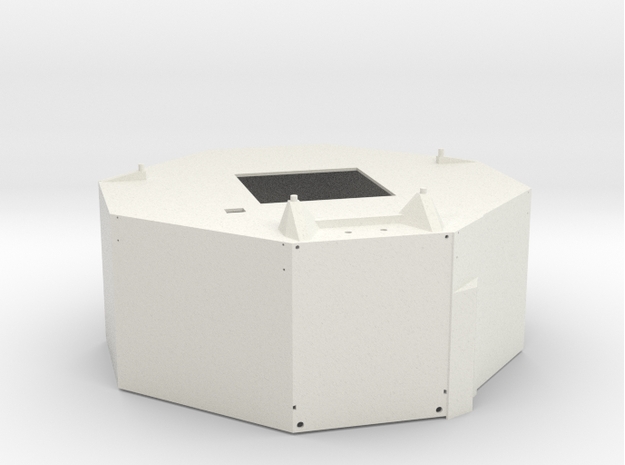
The following table depicts the combined products
you will need to buy depending on the mission you choose and its
particular configuration. In the instruction sections further down you
will be able to buy individual parts if needed.
.
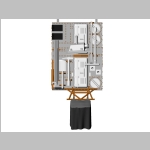
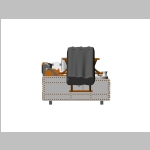
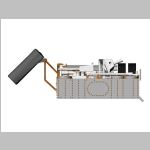
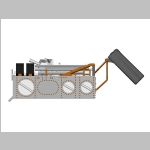
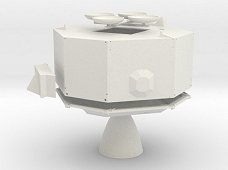
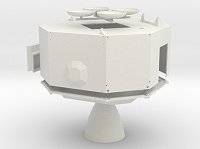
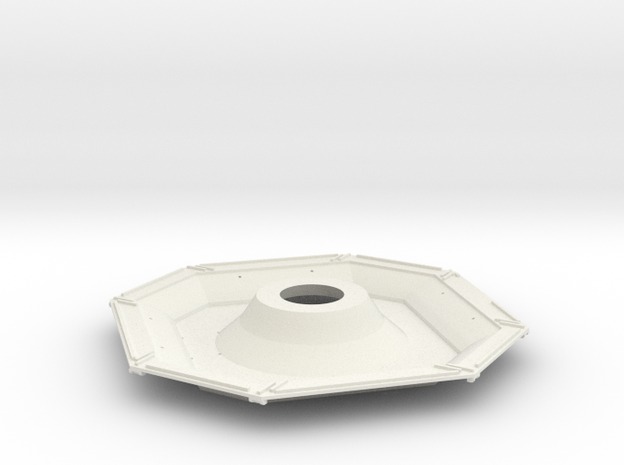
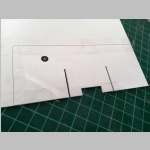
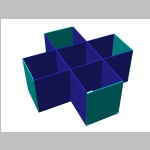
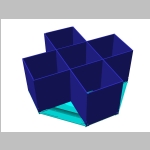
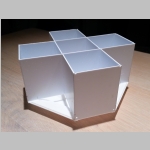
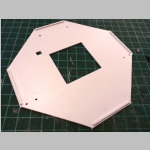
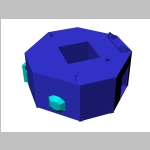
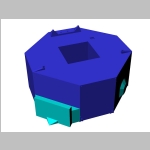
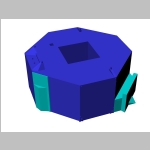
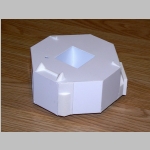
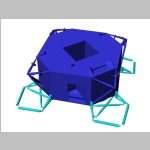
Step 1 : The Descent Stage : Cruciform and Underside
Material :
- 1 mm / 0.04 in styrene sheet
Scale 1/32
Scale 1/24
Step 2 : Top of the Descent Stage
Material :
- 1 mm / 0.04 in styrene sheet
- 1x1 mm / 0.04x0.04 in styrene strips
Scale 1/32
Scale 1/24
Step 3 : The Quadrants
Material :
- 1 mm / 0.04 in styrene sheet
Scale 1/32
Scale 1/24
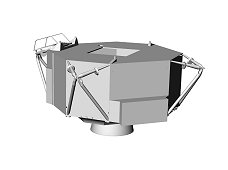
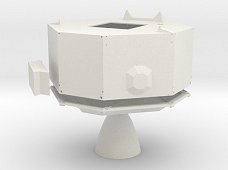
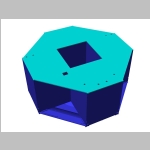
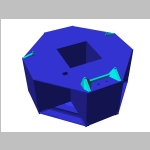
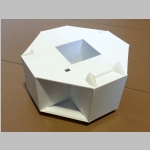
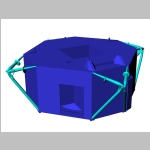
Alternate Steps 1, 2 & 3 : Descent stage Body
Material :
For the descent stage body you will need to choose between two versions whether you want to represent an open or closed MESA.
Scale 1/32
Scale 1/24
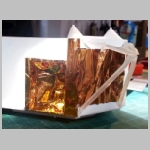
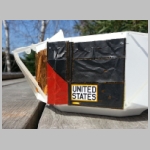
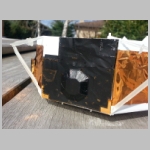
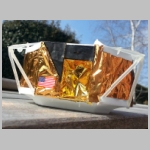
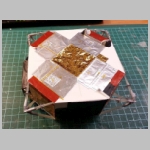
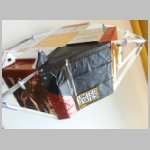
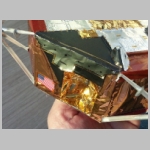
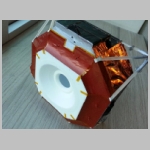
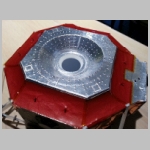
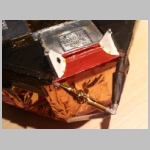
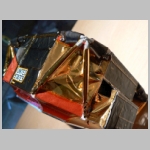
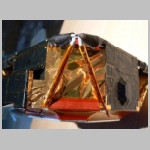
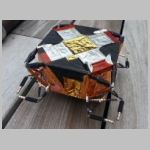
Step 4 : Descent Stage Coating
Material :
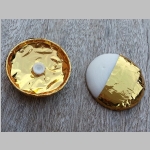
- Yellow gold survival blanket
- Orange gold survival blanket
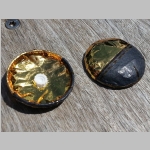
- Aluminium paper painted in mat black
- Aluminium paper painted in metallic red brick, here is an example for the color
- Adhesive aluminium paper
- Kapton tape, here is an example
- 2 mm double sided tape, here is an example
- 1 mm / 0.04 in styrene round rod
- Satin white and flat aluminium paint
Scale 1/32
Scale 1/24
Important note : the coating pattern used in the following
slides only applies to LM-5 (Apollo 11). Other LMs had different
patterns, LM-3 was red birck and black, LM-4 almost entirely black,
LM-6 and 7 similar to LM-5 and LM-8 yellow gold with bare legs. Paul
Fjeld who was project manager on the restoration of LM-13 has an
excellent page pointing out to the differences between LMs (see http://home.earthlink.net/~pfjeld/lmdata/index.html), other
good sources of information are :
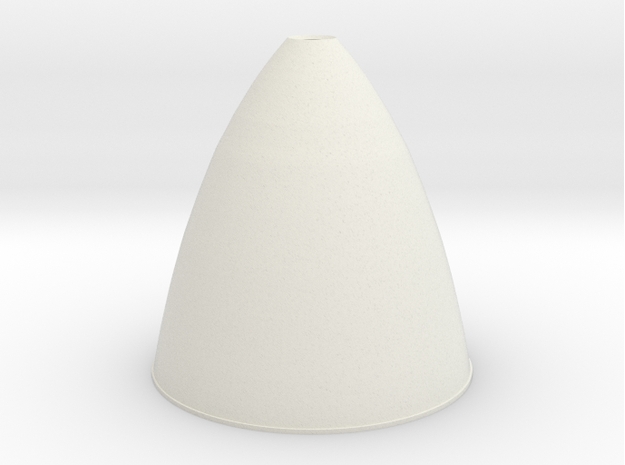
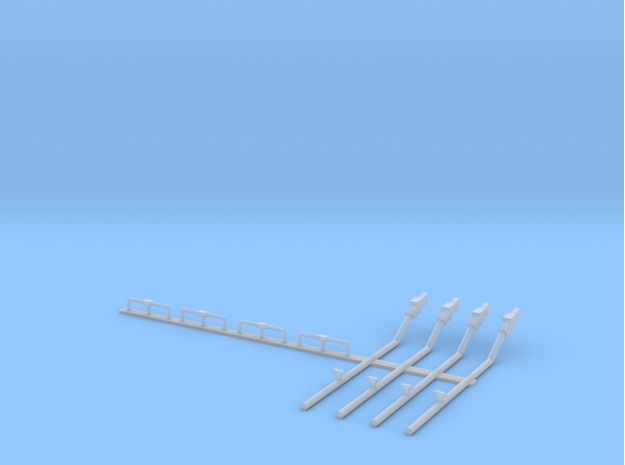
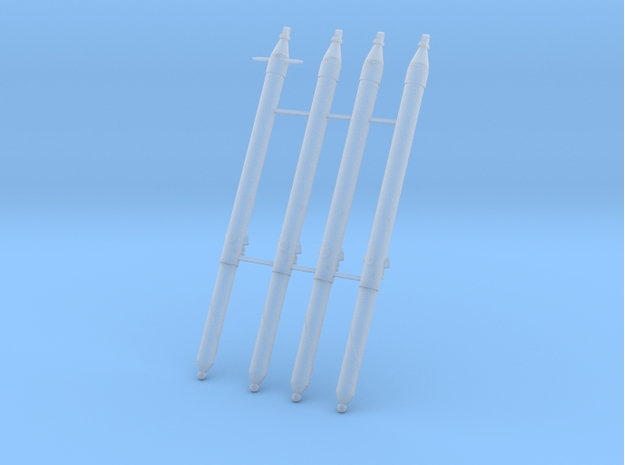
Step 5 : Descent engine, propellant drains, landing radar, helium vents, landing gear uplock
Material :
- 0.75mm / 0.03 in styrene round rod
- 1 mm / 0.04 in styrene round rod
- Grey, white and flat aluminium paint
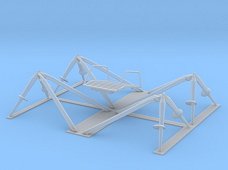
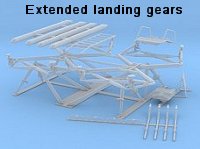
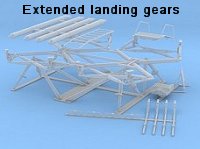
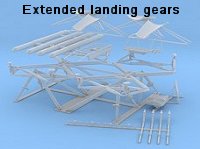
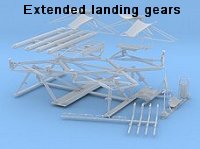
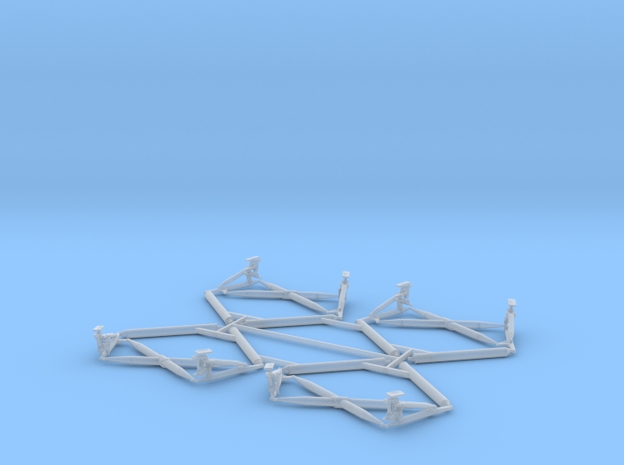
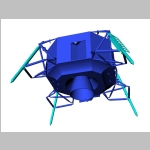
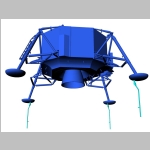
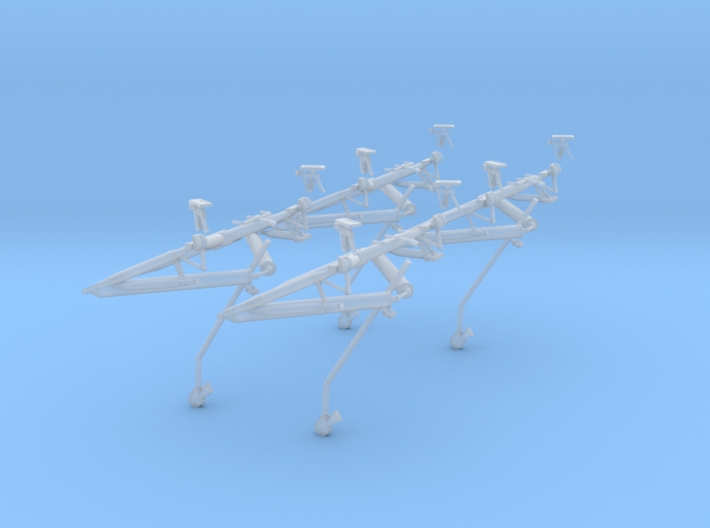
Step 6a : Extended landing gears
Important note : If you intent to build LM-1 (Apollo 5), this
step is not needed. LM-1 was launched unmanned around the Earth for
testing and had not any landing gear.
Material :
Step 6b : Folded landing gears
This is an alternative build if you want to show the LM either inside the SIVB stage or docked with the CSM enroute to the Moon.
Important note : If you intent to build LM-1 (Apollo 5), this
step is not needed. LM-1 was launched unmanned around the Earth for
testing and had not any landing gear.
Material :
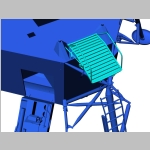
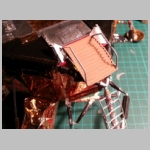
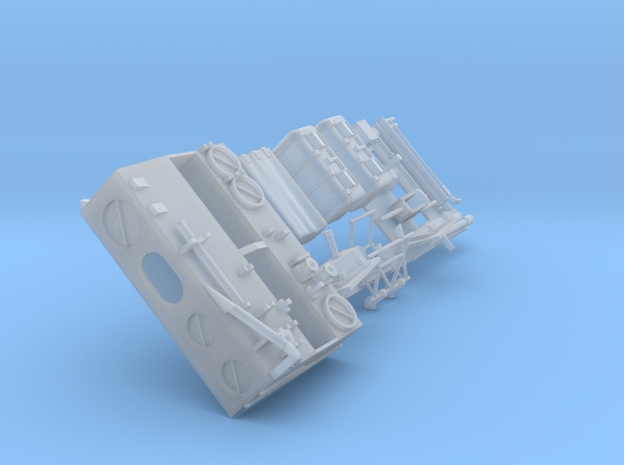
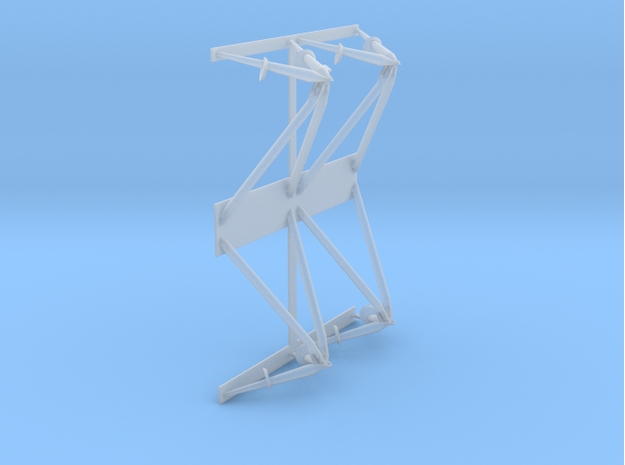
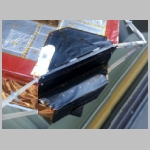
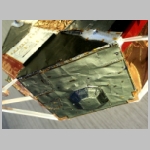
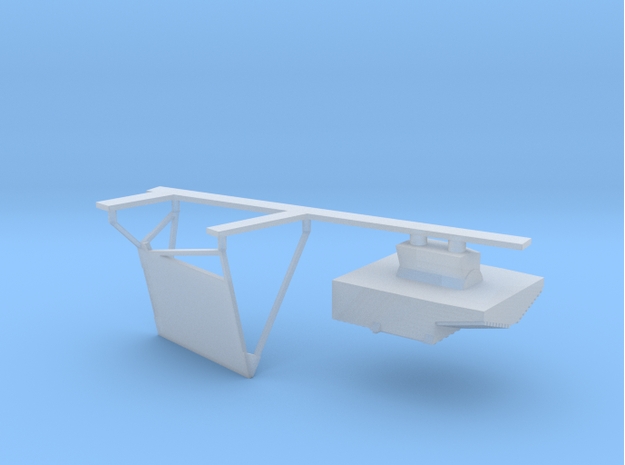
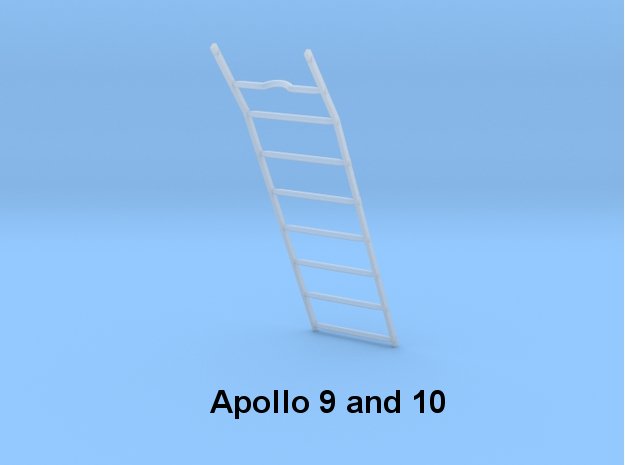
Step 7 : Modularized Equipment Stowage Assembly (MESA) for Apollo 11, 12 and 14, and egress platform (G & H missions)
Important note : If you intend to model your LM in flight,
Its is not nessecary to model the MESA as it will not be open. If you
want to show the MESA deployed you will need to choose between a
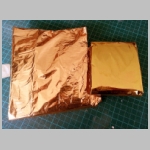
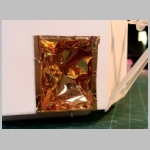
simplified version where the MESA will be covered with 0.5 mil kapton
(gold foil) or the detailed MESA where the kapton foil is removed
showing the inside of the MESA
Material :
- Yellow gold survival blanket
- Orange gold survival blanket
- Aluminium paper painted in mat black
- Kapton tape, here is an example
- 2 mm double sided tape, here is an example
- Grey paper
- Flat aluminium, grey, yellow and brown paints
The detailled MESA is offered in various parts so it can be possible
to show an empty MESA with the tolls removed or a complete MESA. In
this case the instructions to complete the MESA are given herebelow
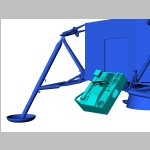
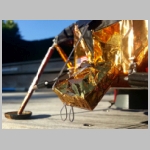
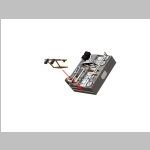
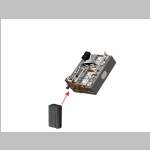
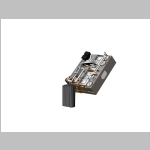
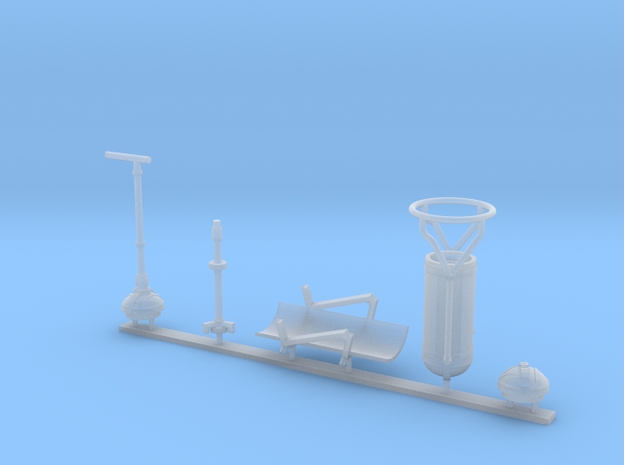
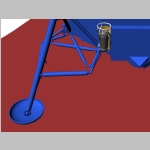
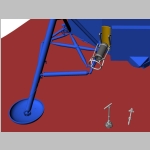
Step 8 : Plume deflector and ALSEP fuel cask
This is the final step for the descent stage assembly. If you intend
to build LM-1, LM-3 or LM-4 (Apollo 5, 9 or 10) this step is not
necessary as none of these LMs had either plume deflectors or the ALSEP
fuel cask. The plume deflectors were introduced after Apollo 10 when it
was felt that the RCS engines could damage the scientific equipment
inside the various quadrants. For the first lunar landing (LM-5 for
Apollo 11) the LM did not have the ALSEP (Apollo Lunar Surface
Experiments Package), quadrant 2 was basically identical but contained
the EASEP (Early Apollo Scientific Experiment Package) that did not
required a RTG for power. Consequently LM-5 is the only LM that landed
on the Moon but did not have an ALSEP fuel cask.
Material :
- Aluminium paper
- flat black paper
- Kapton tape, here is an example
- Flat aluminium, grey, white and gold paints
Scale 1/32
Scale 1/24
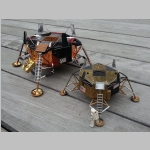
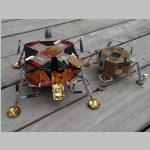
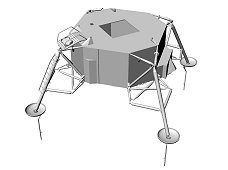
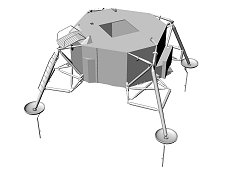
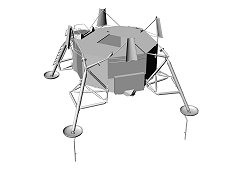
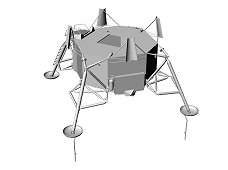
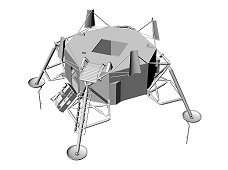
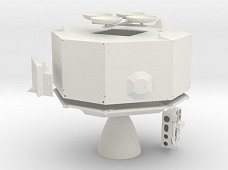
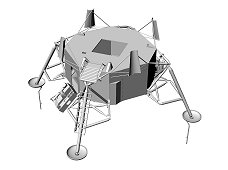
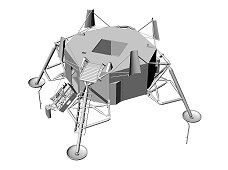
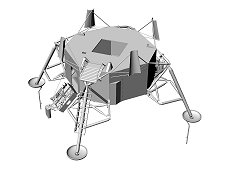
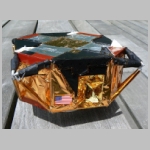
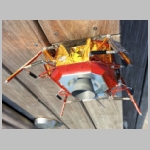
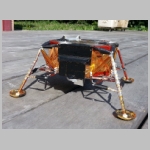
Your lunar module descent stage is now complete, this is how it
should look. For comparison I put it next to an old 1/48 Revell model
of mine.
 or
or 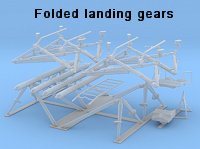
 or
or 

 or
or 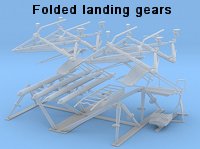

 or
or 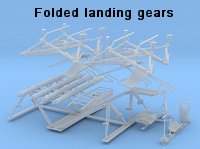








 or
or 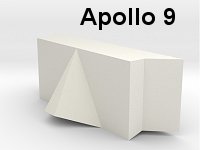 or
or 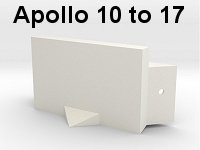
 OR
OR 

 or
or 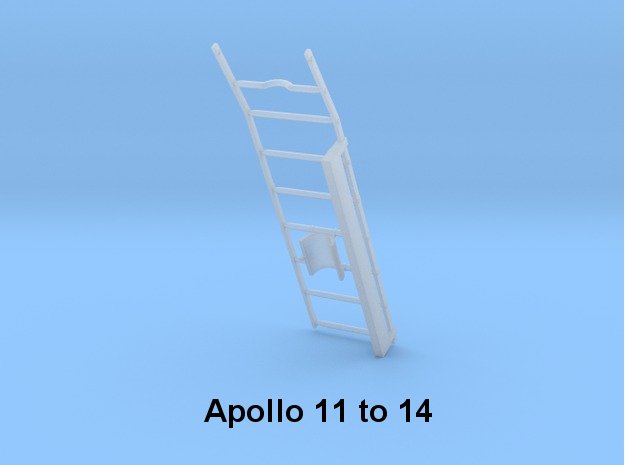
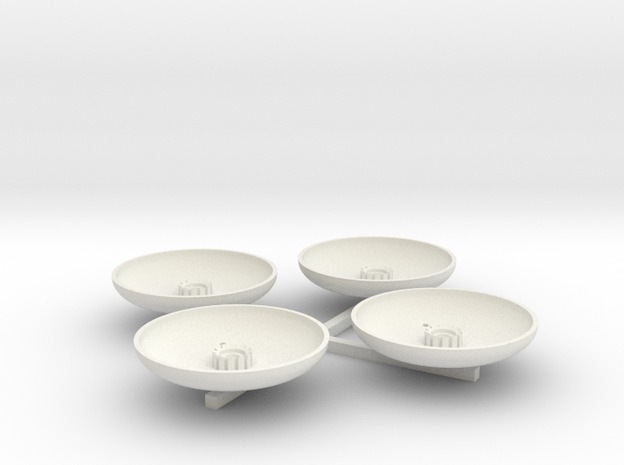


 or
or 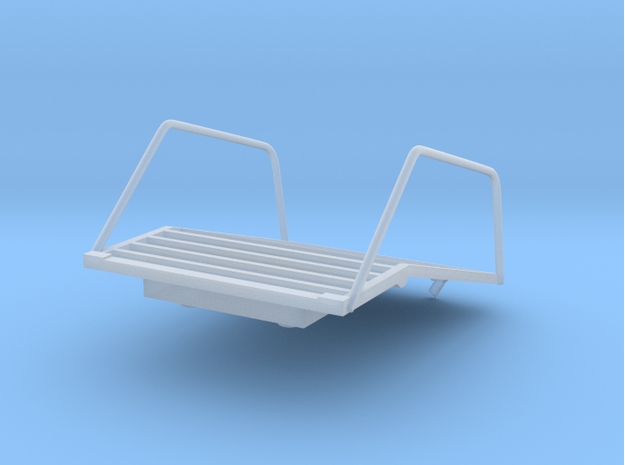 or
or  or
or 
