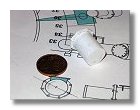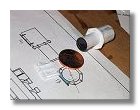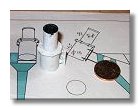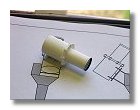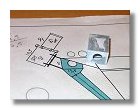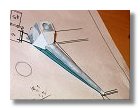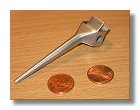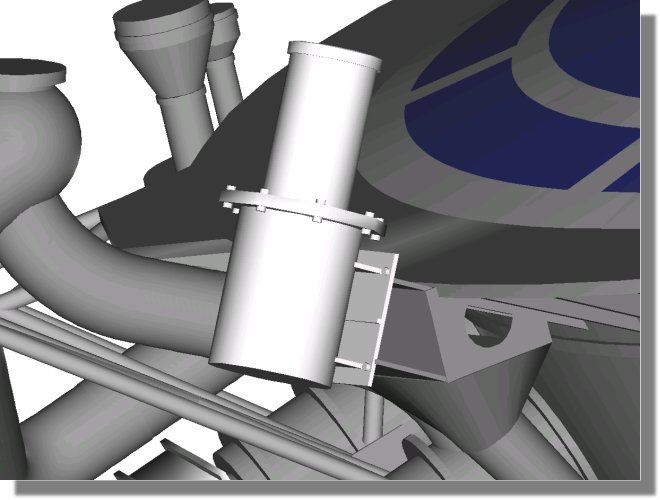
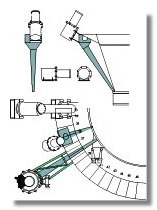
The next step was to build the astrophotometer, only lunokhod 2 had this device. I have produced a blueprint (figure 1) in 1/10 scale while I created 3D views with Gmax allowing to see precisely its positionning on the lunokhod body. The first step was to build the astrophotometer mainly using 0.75 and 0.25 mm styrene sheets. Figures 2 show the construction process, please note that the inside of the astrophotometer was painted in flat black and a piece of transparent plastic was added to simulate the astrophotometer lens. After applying a surface primer (figure 3) the instrument was then painted in white satin (figure 4).
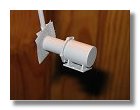
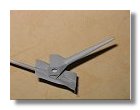
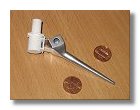
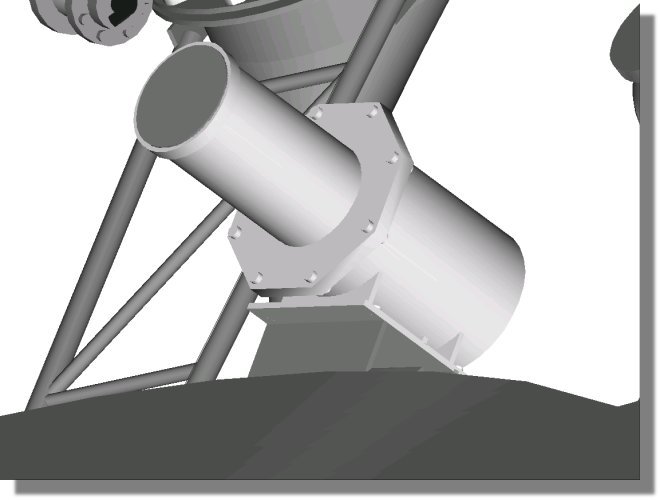
I then built the support pylon using similar techniques as for the photodetectors
pylon, result of this process is shown in figures
5. After applying the surface primer (figure 6)
I painted the pylon in chrome (figure 7) and assembled
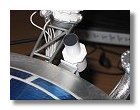
it with the astrophotometer (figure 8). The completed
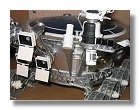
instrument was then assembled onto the lunokhod body as shown in figures
9.
|
Spectrometer
|