APOLLO 14 - Fra Mauro Highlands
Apollo14, Fra Mauro Highlands, EVA 1, 5 February 1971, frames A14-66-9229 and A14-66-9341. Ed Mitchell took this photograph of Alan Shepard's first steps on the Moon. This picture was the very first taken during EVA 1 from the LMP window. It is combined here with one of the very last pictures also taken from the LMP window at the end of EVA 2. Note the effect of wind on the Moon as parallel traces around pebbles can be seen. This is due to the descent engine exhaust prior to landing.
Apollo14, Fra Mauro Highlands, EVA 1, 5 February 1971, frames A14-66-9254 to A14-66-9257 and A14-66-9236 to A14-66-9240. Al Shepard took this panorama. Ed Mitchell is doing a TV pan and has the TV pointed toward the southwest. An excellent picture of the LM where many structural details are visible. The area under, and slightly behind the engine bell shows evidence of disturbed soil resulting from the Descent Engine exhaust. Also visible in the crater next to the rear (-Z) footpad is the track made by the probe as it scraped across the surface. The right (+Y) footpad has dug into the soft rim of a crater, causing the LM to slide slightly.
In the original pictures, (frames A14-66-9254, A14-66-9255 and A14-66-9256), the LM top is not visible. It was then reconstructed using frame A17-147-22517 from Apollo 17. This was not sufficient however since the orientation of the S-band antenna during Apollo 17 was quite different from Apollo 14. I then used frame A12-47-6989 from Apollo 12 since the S-band orientation for Apollo 12 was similar to the orientation fro Apollo 14.
Apollo14, Fra Mauro Highlands, EVA 1, 5 February 1971, frames A14-66-9302 to A14-66-9309. Al Shepard took this panorama. Ed Mitchell is doing a TV pan and, in the distance, considerable detail of the Cone Crater ridge.
Apollo14, Fra Mauro Highlands, EVA 2, 6 February 1971, frames A14-68-9404 to A14-68-9408. Station A panorama taken by Ed Mitchel, showing Al Shepard bringing back the core tube to the MET. This was the first stop en route to Cone Crater, LM Antares can be seen in the distance.
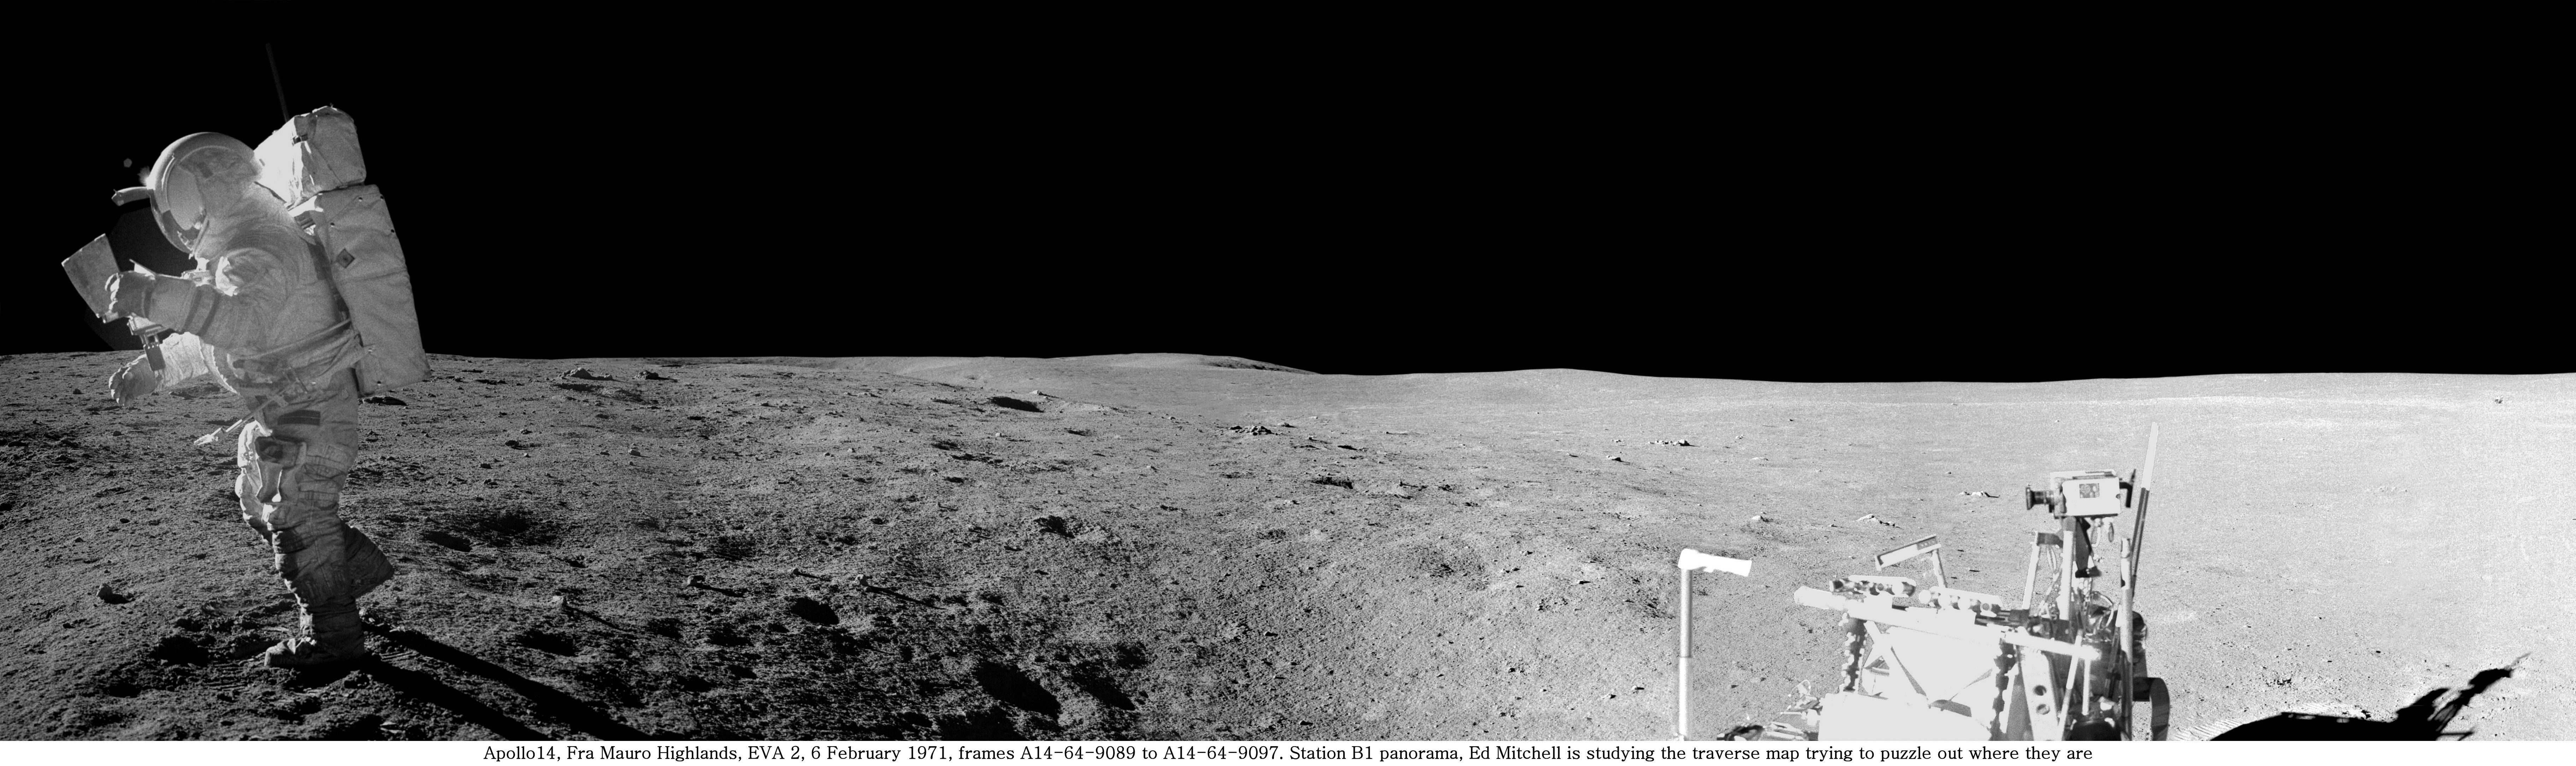
Apollo14, Fra Mauro Highlands, EVA 2, 6 February 1971, frames A14-64-9089 to A14-64-9097. Station B1 panorama taken by Al Shepard, showing Ed Mitchell studying the traverse map. Ed Mitchell is trying to puzzle out where they are. This photograph is symbolic of the traverse as a whole. The LM is visible close to the horizon above the MET shadow.

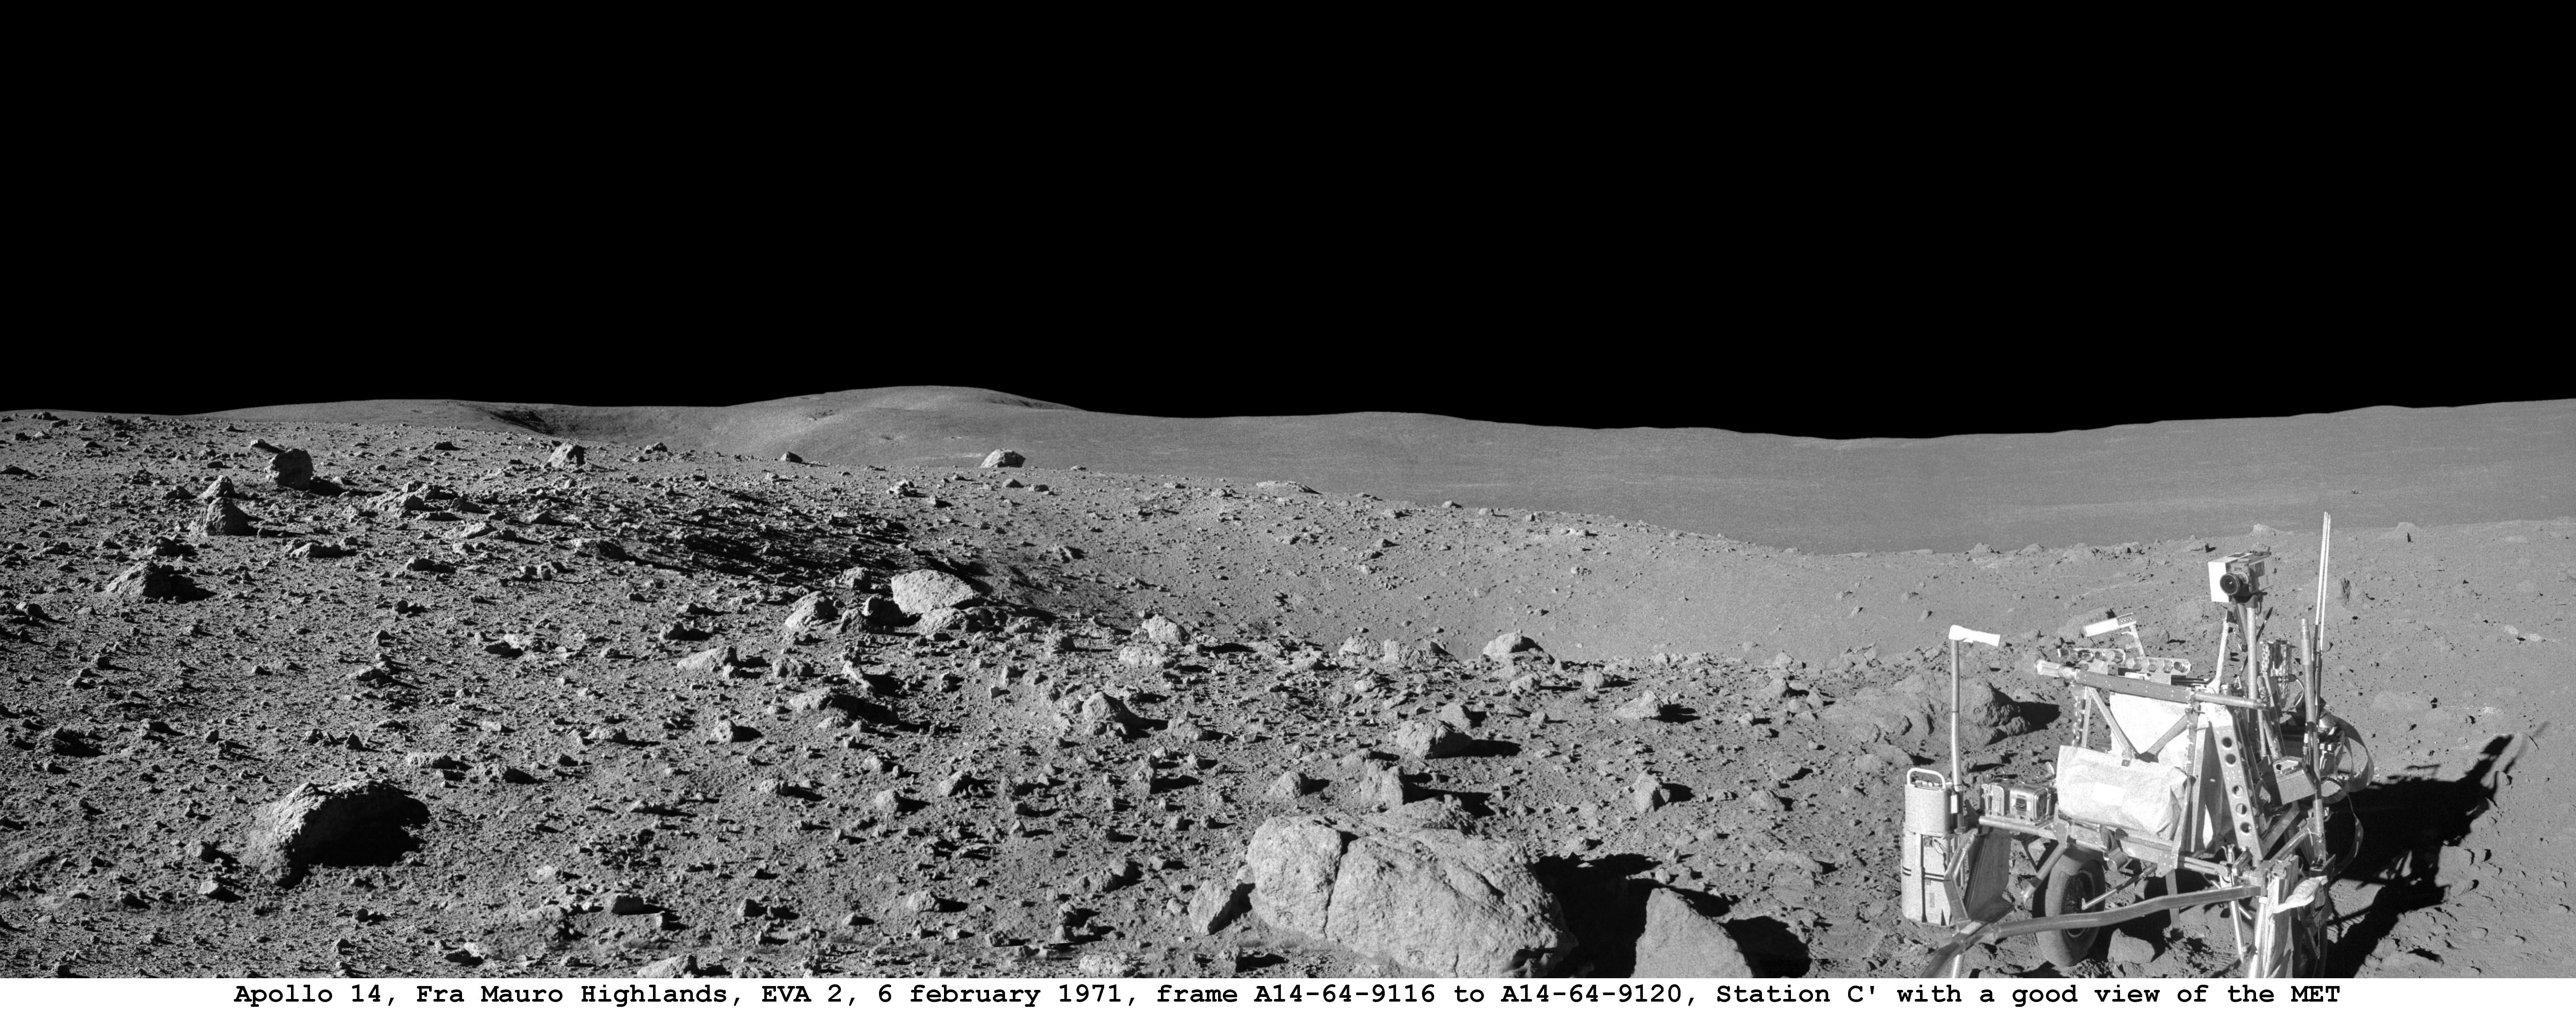
Apollo14, Fra Mauro Highlands, EVA 2, 6 February 1971, frames A14-64-9116 to A14-64-9120 and A14-64-9121. Station C' panorama taken by Al Shepard showing the central portion of the fragment rich crater. In the first panaorama Ed Mitchell is at the front of the MET with his back to us. His upper visor is raised and the LM is just beyond the front edge of the visor and the ALSEP farther right. In the second panorama Ed Mitchell has moved out of the way and this picture gives us good detail of the front of the MET, including the triangular handle brace, the 16-mm camera, and the gnomon. The dustbrush that the astronauts used to dust themselves after each of the EVAs is hanging below the 16-mm camera on the right side of the MET. This brush is identical to the ones flown on the later missions. The white box attached to the side of the camera farthest from us is the battery pack..