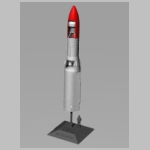
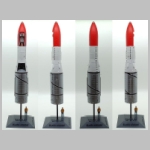
BLACK ARROW, was a British satellite carrier rocket. Developed during the 1960s, it was used for four launches between 1969 and 1971, all launched from the Woomera Prohibited Area in Australia. Its final flight was the first and only successful orbital launch to be conducted by the United Kingdom, and placed the Prospero satellite into low Earth orbit.
Black Arrow originated from studies by the Royal Aircraft
Establishment for carrier rockets based on the Black Knight rocket,
with the project being authorised in 1964. It was initially developed
by Saunders-Roe, and later Westland Aircraft as the result of a merger.
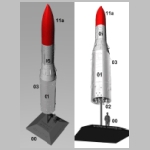
Black Arrow was a three-stage rocket, fuelled by RP-1 paraffin
(kerosene) and high test peroxide, a concentrated form of hydrogen
peroxide (85% hydrogen peroxide + 15% water). It was retired after only
four launches in favour of using American Scout rockets, which the
Ministry of Defence calculated to be cheaper than maintaining the Black
Arrow programme. (source Wikipedia)
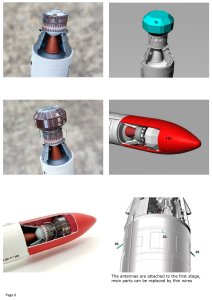
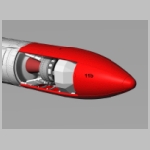
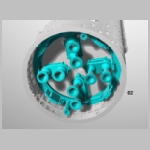
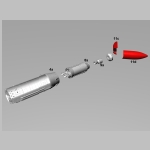
All parts needed to build this model are available for download as STL files on Cult3D. Since the model is highly detailled some files are too big to be uploaded on a third party printing company such as Shapeways. You will need a 3D resin printer for this model, a FDM printer can be used if you intend to upscale your model to a larger scale but will not be usable for the 1/48 model.
You can refer to this web site for building this model or download the instruction booklet.
Decals are also provided on Cult3D for either white and transparent papers.By clicking of the following pictures you will get a complete description on how to build this model.
|
|
|
|
|
|
|
 |
 |
 |
 |
 |
|
|
|
|
|
|
|
|
|
 |
 |
 |
 |
 |