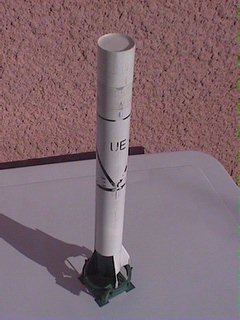
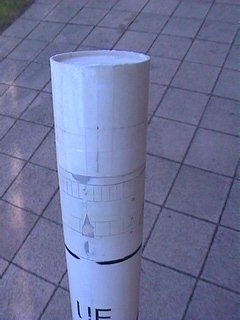
Adding extra lenght to Jupiter C
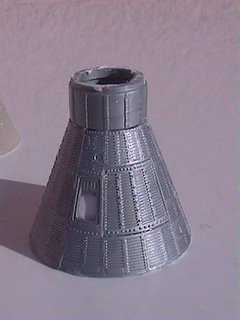
The original Mercury Monogram model
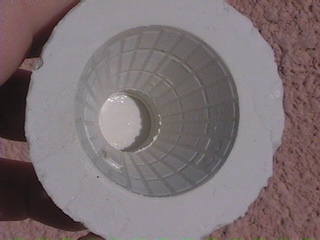
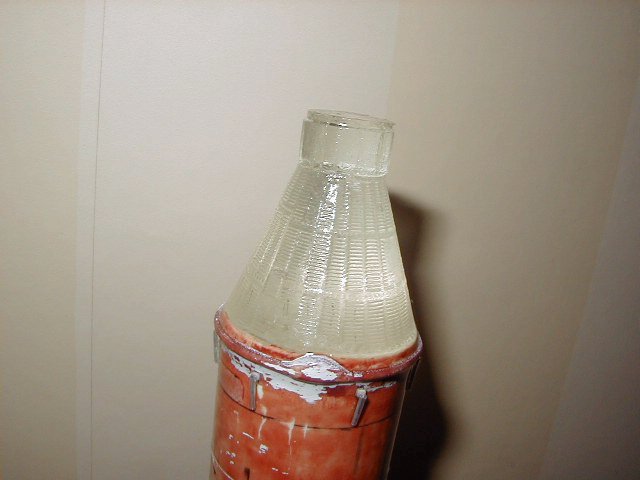
The Mercury RTV rubber mold
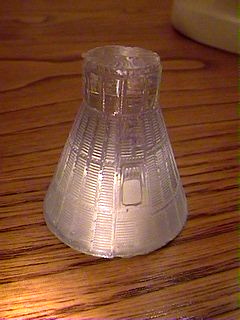
The polyester "copy"
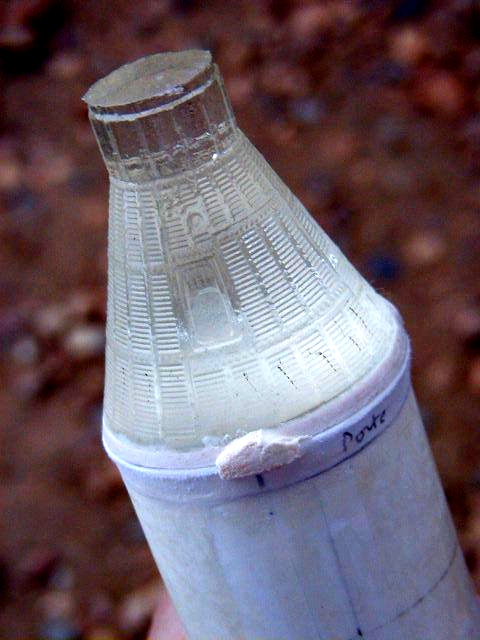
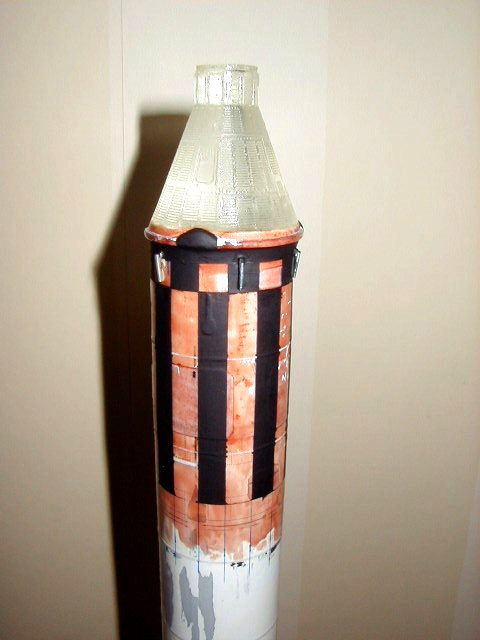
Fixing the Mercury capsule on top the Redstone booster and adding the spacecraft/booster umbilical fairing

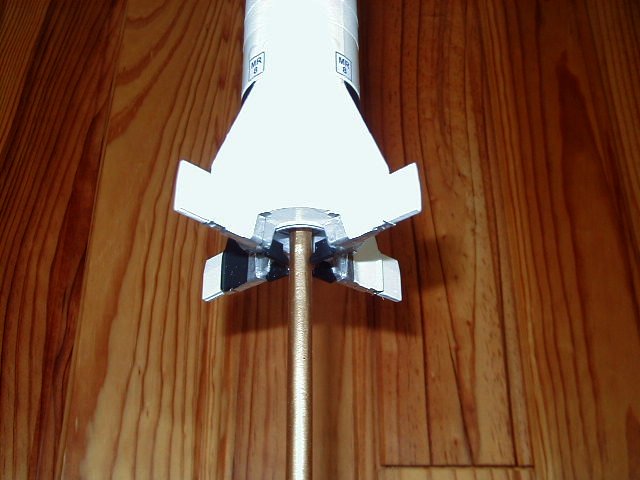
I have built the attachment ring, put details on the Redstone extension and added wood finishing coating for plastic appearance.
I have added the clamp ring cover pulley damper
I have added the welded seams in tank-slight bead, the booster is almost ready for painting
22 June 99, I am starting to paint the instrument section
27 July 99, The instrument section is almost completed and I am painting the fuel tank
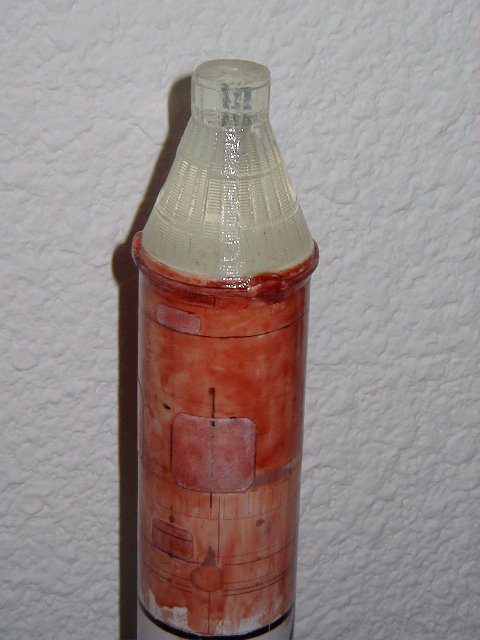
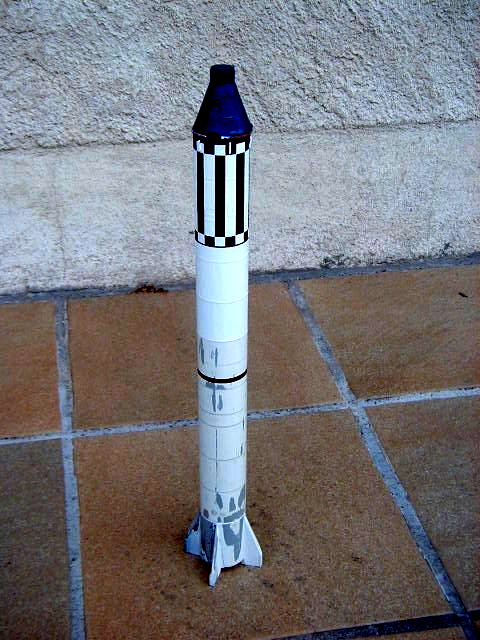
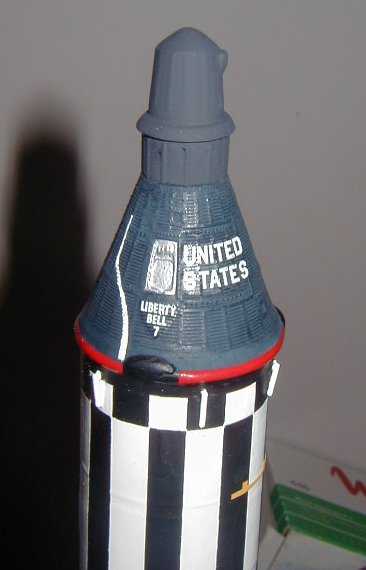
9 September 99, the capsule and attachment ring are painted, the fuel tank is painted in gloss white an the oxydizer tank in flat white. This represents ice on the rocket as it will be represented during liftoff
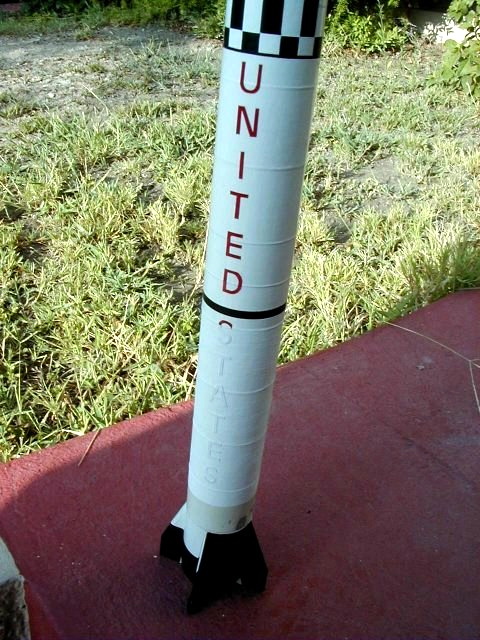

30 September 99, I have added the UNITED STATES letters, as the booster will be presented in flight configuration the word STATES appears covered by frost (in this case flat instead of glossy white).
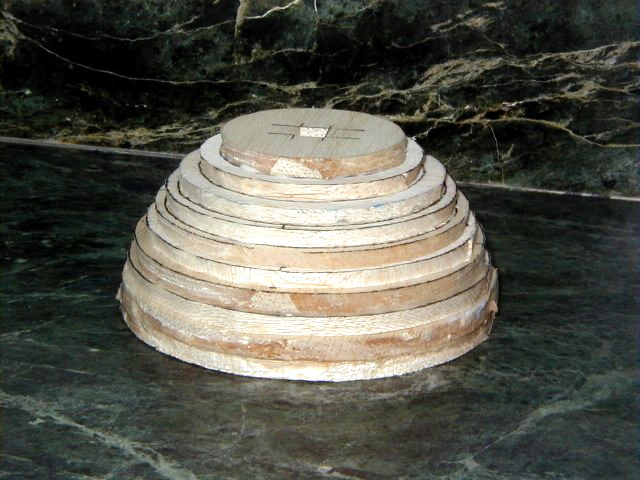
14 October 99, I am building the model base by gluing several circles of balsa wood. I will then need to sand it to give a perfect hemispheric shape.
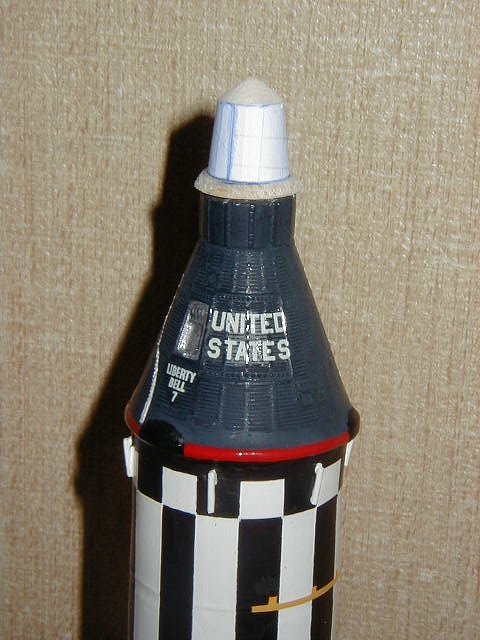
21 November 99, the instrument section is now complete, the antennas have been added and the decoration of the Liberty Bell spacecraft is also complete
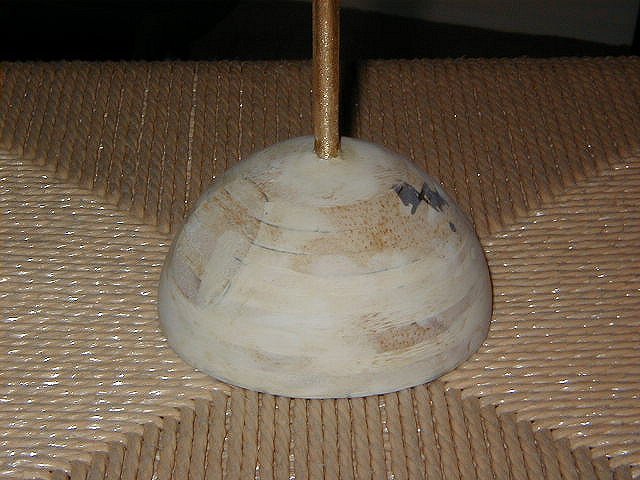
23 November 99, the model base has been sanded and vernished. It is now ready for painting
23 November 99, Contruction is going on the Mercury spacecraft
27 December 99
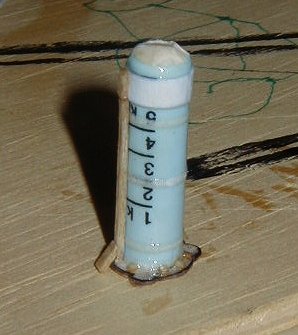
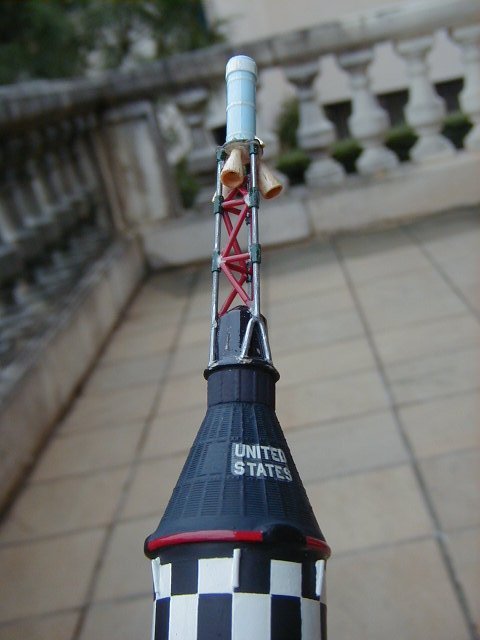
27 December 99, the top part of the escape tower made out of a plastic tube for medicine
30 December 99, the unpainted escape tower
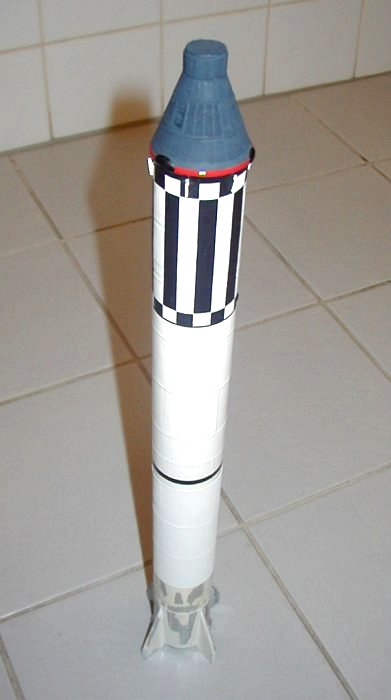
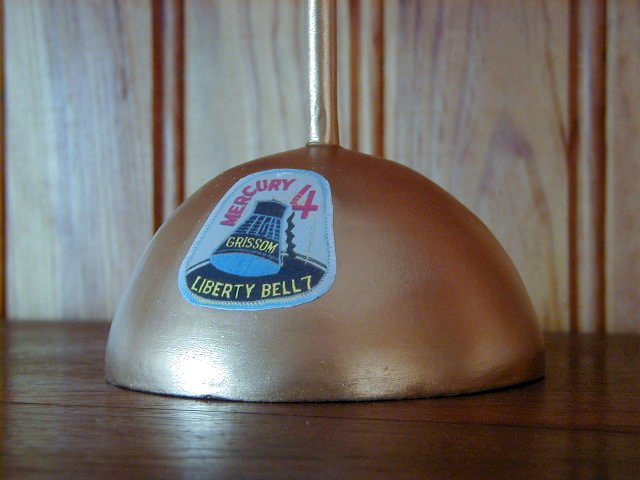
1 January 2000, the model base


1 January 2000, the engine section
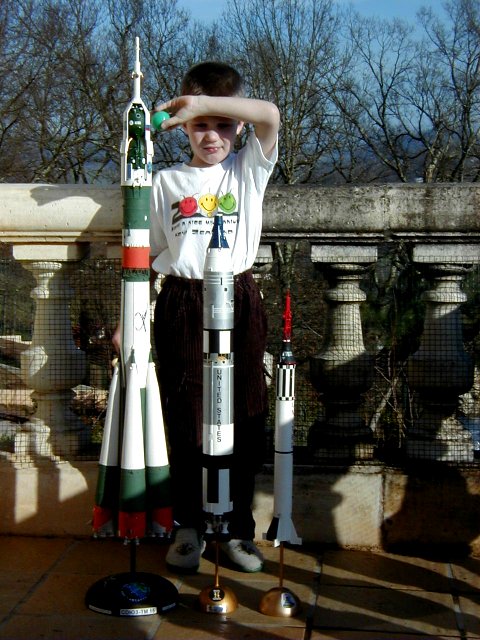
1 January 2000, the model is complete