As April 12th 2011 approached to celebrate the 50th anniversary of the first venture of man in outer space I decided to rebuild the old 1/24 Revell model of the spacecraft. This was meant to be used in
the Cité de l'Espace in Toulouse, France for the local celebration of the event. I could have chosen the very neat and detailled NewWare model, however I felt that it would certainly be a good thing to
have a larger model.
However that model was in some ways very simplistic and presented many flaws to correct. I was confident however that not having to redo all parts and having started in January I could complete the
model in time for April 12th, in fact I started the model on January 28th 2011 and finished it on April 7th 2011, only 5 days before the 50the anniversary of Yuri Gagarin's flight.
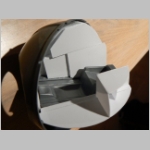
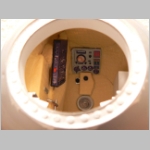
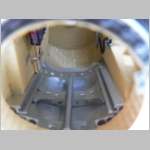
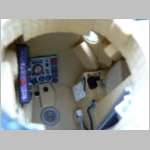
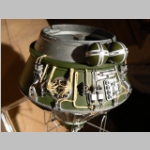
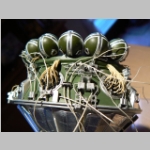
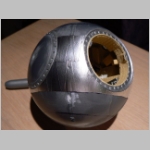
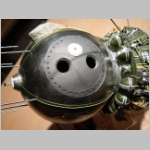
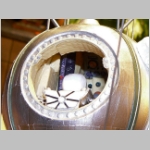
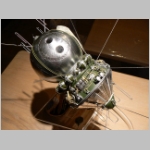
The Revell cockpit was over simplistic with no detail on the actual panels. Furthermore it presented a big flow with the escape seat being installed into a cylinder. There was no cylinder onboard Vostok. It
is true that there was no room on the left side of the cosmonaut because of the parachute container, however the upper part and the right side were occupied with various intsruments and panels. The first
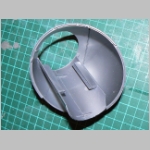
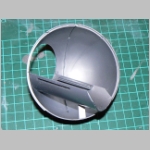
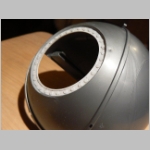
thing to do was then to cut the cylinder to retain only the part necessary to later install the ejection seat. The opening of the cabin was also modified to show the bolts used to secure the hatch.
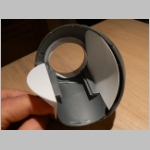
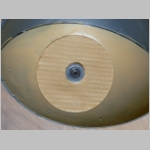
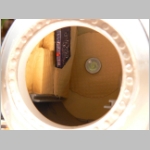
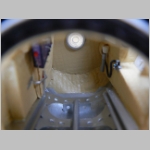
Inside the cockpit I used 0.24 mm styren sheet to re-arrange the interior. It is also noticeable that the opening for the Vzor viewing system was not large enough so I had to adjust it to insert that system
which was not just a window but a kind of telescope system used to align the spacecraft.
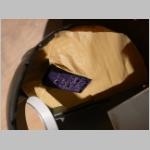
I found some wrapping paper that had the kind of embossing found on the yellow blankets inside Vostok. I then used a light yellow paint (humbrol 148) to make it look like the real thing. For the control
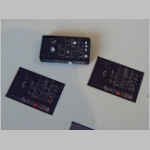
panels I found some panels designed for the Orbiter software (see here), I resized them to 1/24 and printed them.
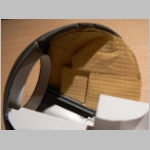
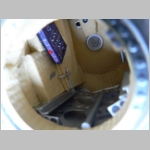
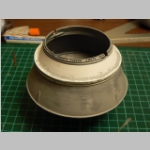
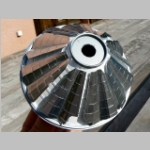
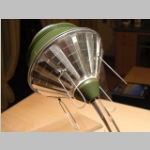
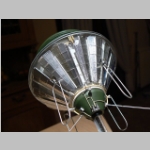
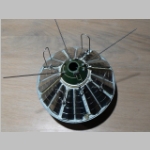
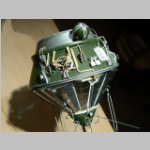
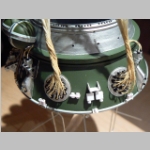
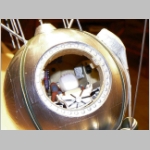
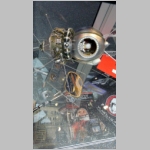
The intrument compartment on the Revell model had a bas-relief that was meant to represent the mass of instruments and cables. This unfortunatly was a low representation of the reality and the first thing I
had to do was to erase it completely and redo the part between the instruments/cables and the spherical tanks. I also started to modify the bottom part before building the radiators using cardboard and
bar-metal foil.
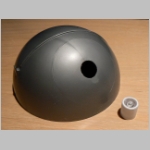
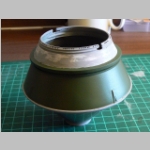
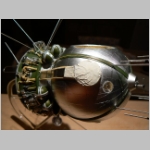
Before continuing I drilled a 1 cm hole at the base of the instrument compartment and the Sharik sphere in order to be able to install the stand. The stand is identical to the one used for the 1/48 CSM made
by RealSpace. I then built the retro rocket package and the various antennas before starting the upper part of the Intrument compartment.
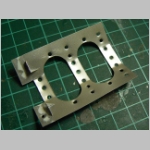
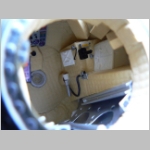
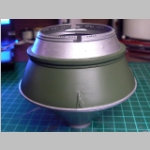
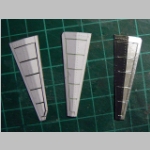
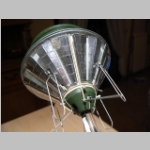
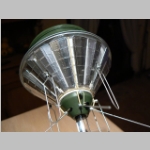
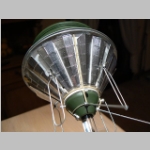
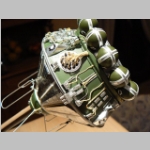
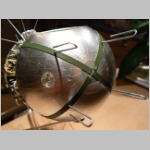
Before building the details for each side of the compartment (Umbilical, Vzor, Parachute and Hatch) I rebuilt the triangular part that limits these four sides of the model. The original part being quite different
from the real one. Details were then done for each side using styrene and cotton thread for the cables.
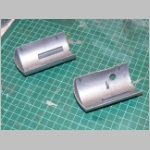
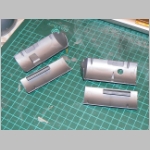
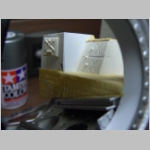
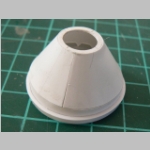
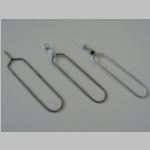
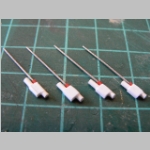
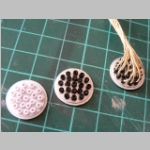
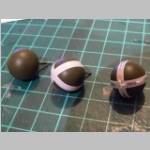
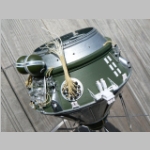
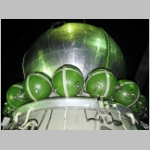
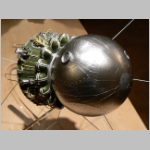
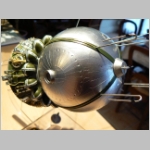
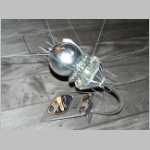
The oxygen tanks were too small and positionned wrongly on the model (horizontal instead of being perpendicular to the cone), so I had to find 15 mm wooden pearls on the internet, paint them and make
them new oxygen tanks. The white straps were made using insulating tape and the aluminium straps using adhesive aluminium paper.
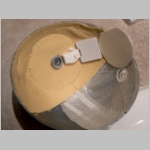
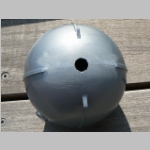
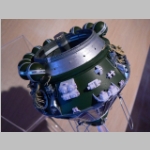
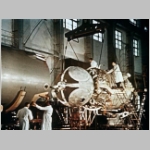
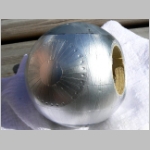
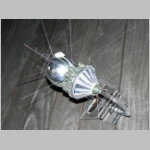
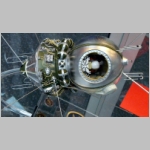
The big question about the Sharik sphere related to its appearance. Was it brown, white or aluminium ? Was the hexagonal shape of the the thermal covering visible or not. My understanding was that the
three possibilities were correct but that the thermal covering evolved during time for a final aluminium appearance. Of course I may be wrong but my assumption was also based on the fact that, as I visited
the Korolyov museum in 2009 and touched the Vostok 1 capsule, I realized that the three components are superposed one onto the other.
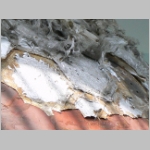
The first picture is probably one of the early Vostok, the hexagonal shape is visible but it is probably the heat shield itself. On the second picture the heat shield is covered with a white thermal fabric but not
everywhere, in particularly not at the top of the Sharik sphere. The third picture shows the aluminium appearance, as you can see the sphere is covered with trapezoidal elements as would be the Apollo
command module later-on but with a different pattern (longitudinal bands easy to fix onto a cone). The fourth photograph shows the actual covering of Vostok 1. As you can see we have the heat shield,
the white fabric and then the aluminium type material one onto the other.
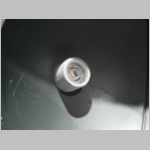
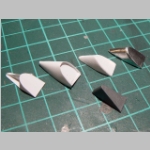
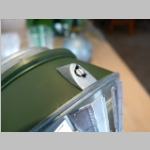
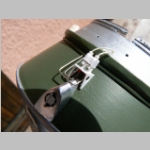
The aluminium type covering is then made using matte aluminium bare-metal foil. For the various hatches I had to make some corrections, make the Vzor hatch a bit higher than it was on the model and,
using a small drill, make some holes around each hatch to simultate the bolts. The straps on the models were too thick and not large enough so I had to erase the original ones and install new ones. I kept
the antennas of the model although they may be a bit too thick, however they were much easier to fix.
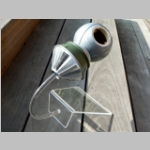
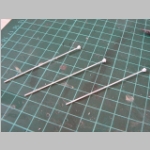
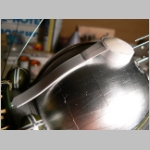
The umbilical on the model was also wrong. Basically it was not large enough (5 mm instead of 8 mm) and the cable fairing was about 1 cm instead of 2.2 cm, so I had to redo everything. I covered the
umbilical with chrome bare-metal foil and the fairing with white painted aluminium paper.
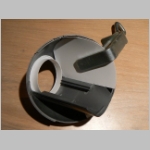
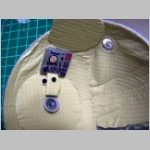
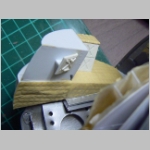
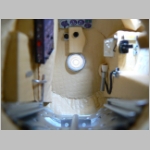
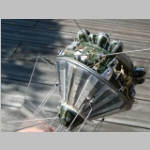
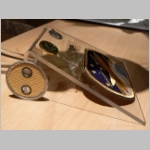
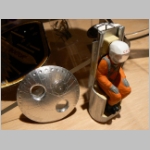
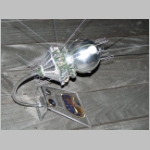
The final part was to work on the cosmonaut hatch, cut the two windows and complete the cosmonaut and the ejection seat. Only a few modifications like the parachute were made on the ejction seat since
most of the details were underneath the seat and would not be visible on the model.
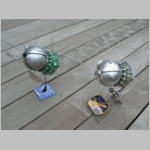
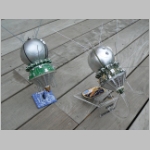
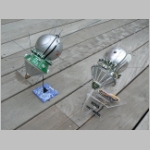
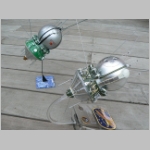
I made a first model of the Revell 1/24 Vostok in the early seventies. At that time I strictly followed the instructions and kept the Zemiorka second stage. That model was restored in the mid eighties when I
remove the Zemiorka third stage and added details on the instrument compartment. 25 years later I started this other Vostok with much more documentation (internet was not available in the early eighties)
and an extra 25 years of experience. Although I do prefer the current model, I do not want to go back on everything one has stood for as it is also a matter of nostalgia ans shows how my abilities evolved
during that time. Here are the two models side by side.
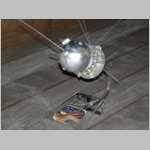
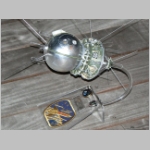
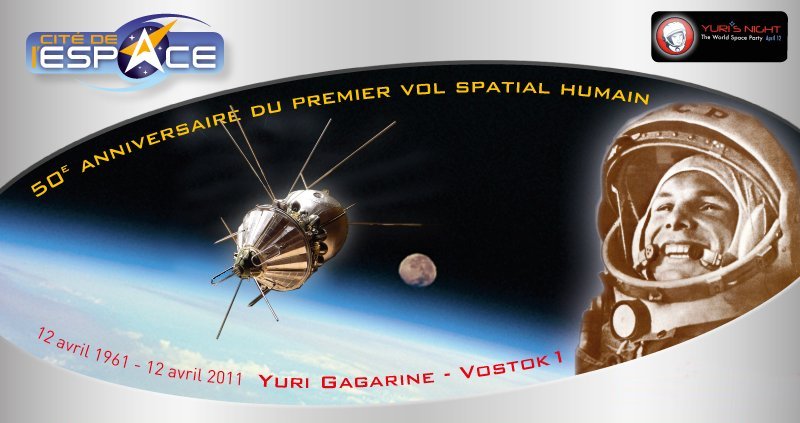
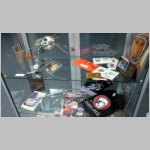
The model was specially made for the 50th anniversary of the Vostok 1 flight. On April 11th it went to the main hall of the Cité de l'Espace here in Toulouse for a special exhibition to commemorate this
historic event (photos and banner design by Serge Gracieux).
Cite01.jpg
172.01 KB
Cite02.jpg
164.71 KB
Cite03.jpg
171.60 KB
Cite04.jpg
180.72 KB
The Vostok 1 model on Gulli national French TV. From 3:58 are the exhibitions in France concerning the Vostok 1 50th anniversary with a close-up of the model.