|
|
|
|
|
|
|
|
|
|
|
|
|
|
|
|
|
|
|
|
|
|
|
|
|
|
|
|
|
|
|
|
|
|
|
|
|
|
|
|
|
|
|
|
|
|
|
|
I decided to start the 1/48 model of the Chinese Tiangong 1 space station docked to Shenzhou 9. The general idea was to build this station and follow with Salyut 1 and Skylab, all at 1/48. For each station I would like to make a cutaway like I did in the 70's when I built paper models of Salyut 1 and Skylab at 1/50.
The base model is the GWH Tiangong 1 + Shenzhou 8.
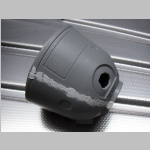
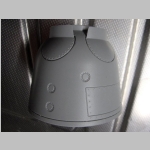
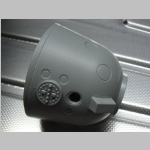
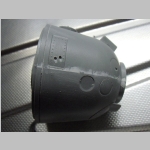
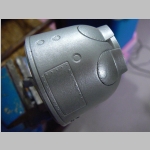
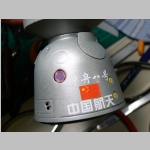
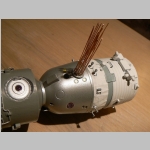
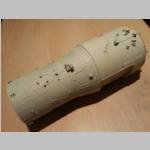
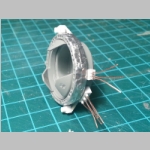
I started with the descent module. As it is composed of two halves a bit of putty was necessary to make a clean assembly. I had to fix some holes for the parachute compartments as they were too small. The important modification to the original model was the addition of the retrorockets of the re-entry attitude control system that are missing on the model. Also to be noted are the windows for windows for which I made decals of my own using a picture of a real Shenzhou re-entry module.
The home-made decals are available in power-point format or in pdf format. The power point format can allow you to resize them easily if you want to use them for a different scale model such as the 1/72 trumpeter model.
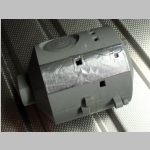
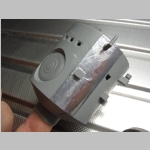
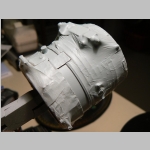
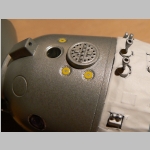
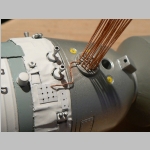
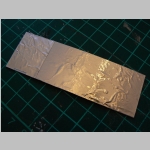
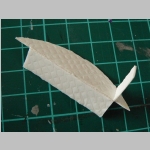
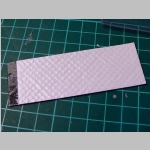
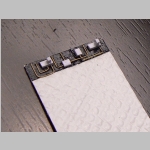
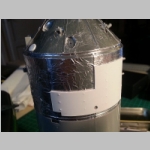
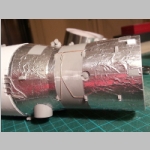
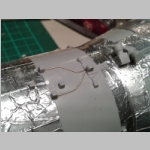
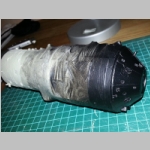
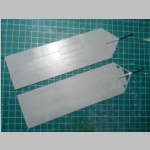
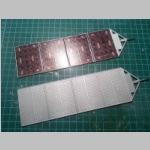
The orbital module is covered with thermal blankets upon which are fixed sensors and electrical cables so I first had to erase all raised cables on the model. The thermal blankets were made with slightly wrinkled aluminium paper. The aluminium paper was fixed onto the orbital module using double sided adhesive tape.
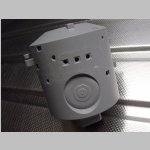
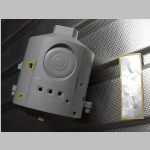
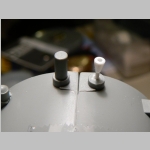
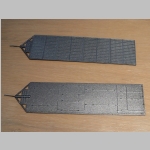
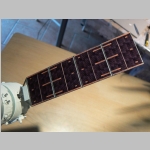
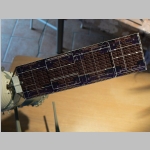
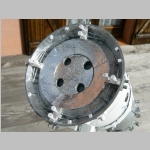
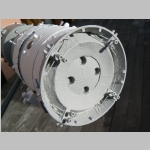
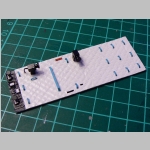
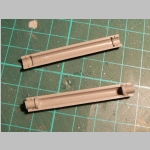
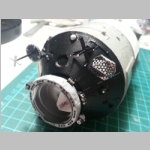
For the instrument module of Shenzhou the first step was to eliminate the long pins at the top of the model which are covers for the retrorockets and replace them with proper retrorockets. For the solar panels I cut the support which was originaly filled with plastic.
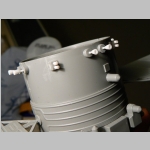
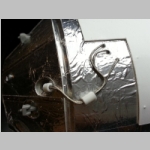
The higher part of the instrument module is covered with thermal blankets which appear raised from the main body of the module. I used adhesive aluminium paper that was cut with the proper holes when necessary and pasted with bubblewrap paper and double adhesive tape before being sticked to the model.
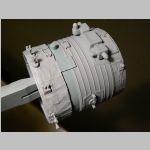
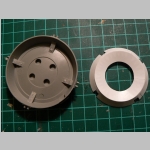
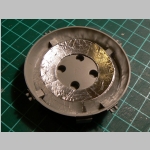
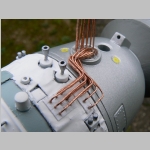
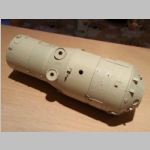
The aft part of the instrument module was completely rebuilt as it does not accuratly represent the Shenzhou configuration. I used styrene to make the double cone present in the center of the propulsion section and raised the retrorocket support. The whole section was covered with adhesive aluminium paper to give it the thermal blanket appearance. After I installed the fuel pipes and new retrorockets similar to the one I built for the forward part of the instrument module, I primed that section and painted it in dark grey and white.
|
|
|
|
|
|
|
|
|
|
|
|
|
|
|
|
|
|
|
|
|
|
|
|
|
|
|
|
|
|
|
|
|
|
|
|
|
|
|
|
|
|
|
|
|
|
|
|
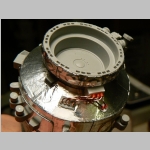
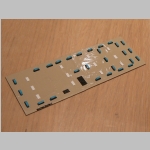
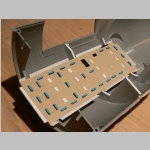
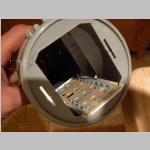
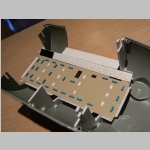
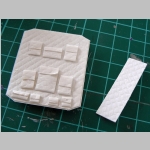
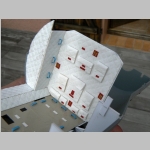
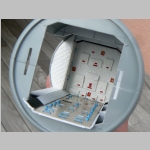
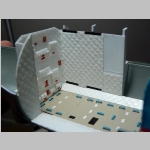
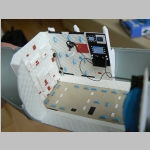
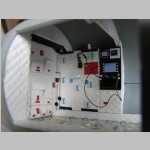
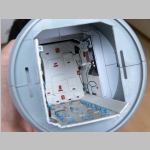
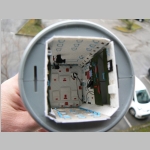
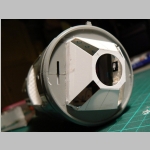
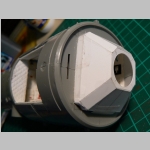
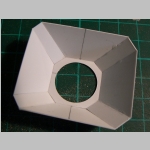
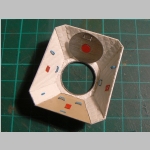
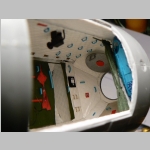
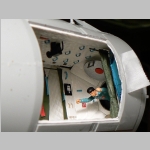
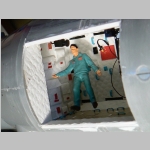
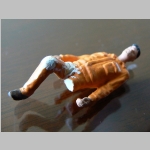
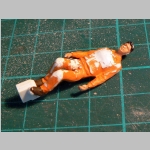
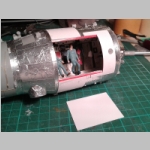
Tiangong 1 interior
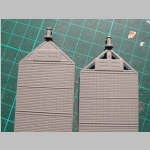
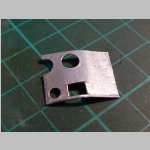
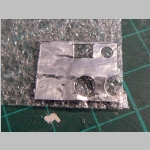
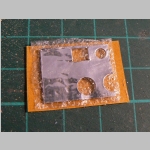
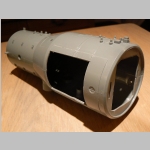
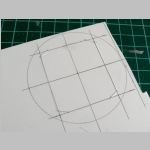
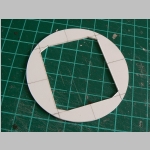
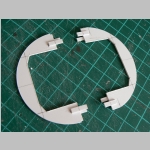
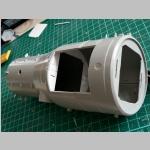
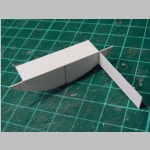
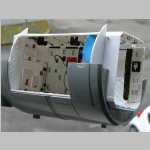
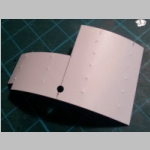
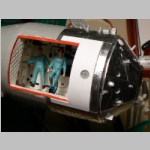
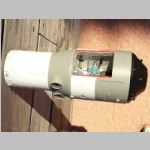
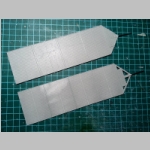
I intend to build a cutaway model of the Tiangong 1 space station. Before cutting metal or rather styrene I created a template to figure out exactly where were the various elements of the station. At this point I would like to thank Harmut Helms from the German Raumfahrer forum. He created some blueprints of the Tiangong station that were quite helpful in evaluating th dimensions of the working space and the layout of the various elements.
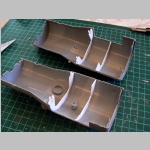
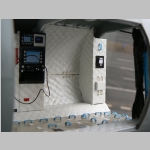
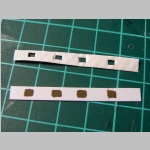
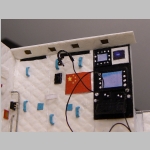
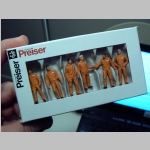
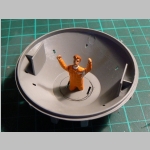
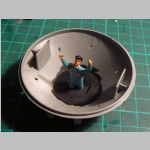
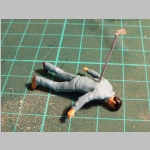
After cutting somme parts of the model to be able to see inside I built the elements to support the various walls of the cabin and then started to build the various walls starting with the floor, the open side wall, the aft wall and the second side wall. Once all wals were built the Tiangong module was cosed and I tarted working on the taikonauts. I chooseto represent one floating, one on the bicycle and one entering Tiangong. I used 1/50 Preiser figurine that I hade to modify and repaint. While making this model you come to realize that Tiangong interior is not very big and the wide angle cameras give a false impression of available space.
|
|
|
|
|
|
|
|
|
|
|
|
|
|
|
|
|
|
|
|
|
|
|
|
|
|
|
|
|
|
|
|
|
|
|
|
|
|
|
|
|
|
|
|
|
|
|
|
|
|
|
|
|
|
|
|
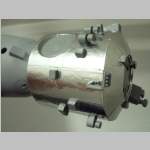
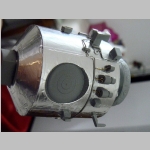
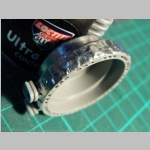
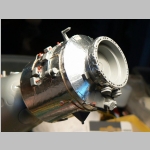
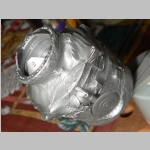
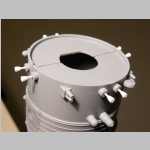
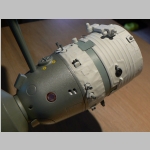
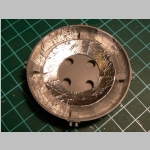
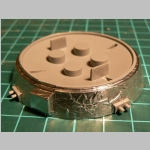
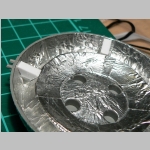
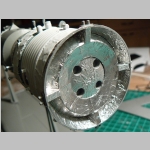
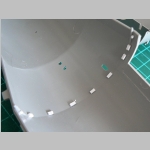
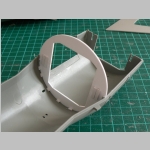
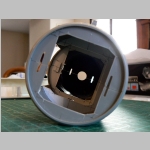
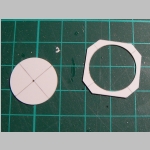
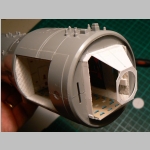
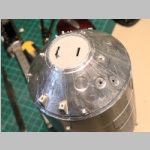
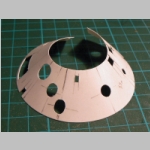
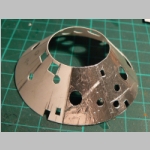
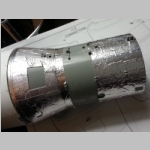
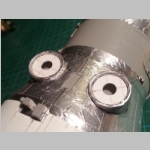
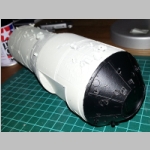
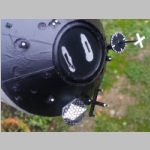
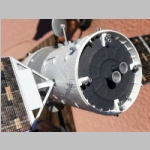
I started building the exterior of the Tiangong with the forward section where the Shenzhou spacecraft docked. In the original model some parts are slightly in hollow to represent the fact that there is a cone over the main cone covered with thermal protection blankets. I felt this was not accurately represented and decided to built an extra cone with holes. Extra holes that were forgotten on the model were also added. Adhesive aluminium paper was applied to mimic the thermal blanket.
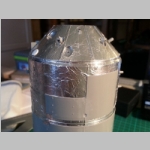
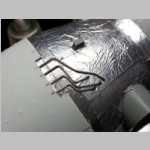
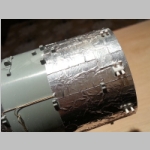
The main hull is covered with aluminium adhesive paper to mimic the thermal blankets. Some panels are not covered with blanket and I added some styrene sheet to give it more relief.Before painting the models cables were installed on various places around the hull. Before painting the model I had to cover the opening, I used styrene applied with blu-tack allowing a paintproof seal to avoid painting the inside of the station.
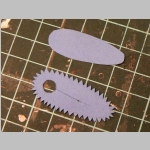
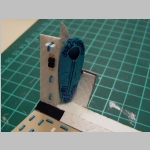
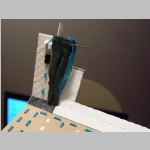
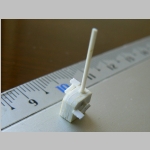
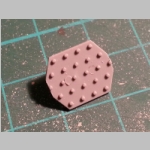
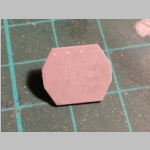
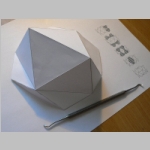
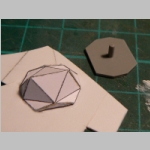
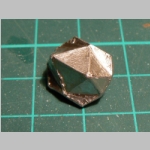
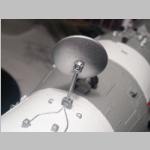
While I was working on the details of the station I realized that the laser retroreflector was all wrong and too simple. I used powerpoint to draw a 1/4.8 blueprint of the reflector and used it to make a 1/4.8 paper model as a kind of testbed. I then resized the pattern by 10% to have a 1/48 scale, covered the part with bare metal foil and made some decals printed on clear paper to mimic the reflectors. The retroreflector is not completely accurate but much better than the original one.
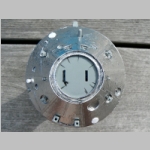
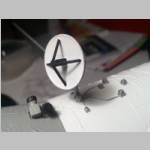
For the rendezvous target I draw the pattern on powerpoint and simply printed it on paper to glue it on the plastic part. I needed to make a few adjustments to the docking collar by adding two supplementary sensors and connection boxes similar to the one on Shenzhou.
Similar to the Shenzhou home-made decals available in power-point format or in pdf format were used for the solar panels The layour of the panels ware a bit different from the Shznzhou so it was not just a matter of resizing the Shenzhou panel fro Tiangong.
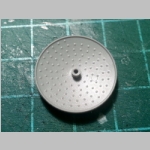
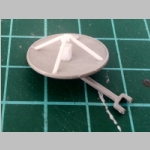
Finally I completed the model by modifying the relay-satellite dish antenna and adding the propulsion section.
|
|
|
|
|
|
|
|
|
|
|
|
|
|
|
|
|
|
|
|
|
|
|
|
|
|
|
|
|
|
|
|
|
|
|
|
|
|
|
|
|
|
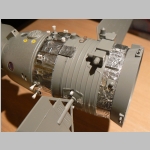
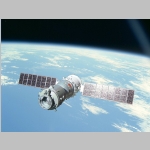
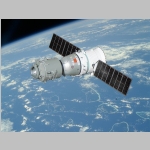
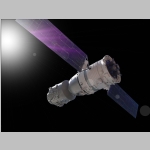
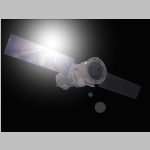
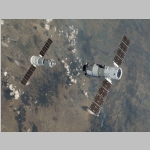
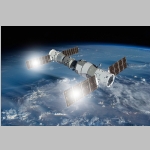
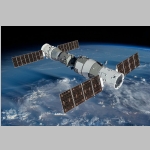
Here are a few pictures of the model in orbital situation.
|
|
|
|
|
|
|